|
Show content only (no menu, header)
Slumping Mold Characteristics
| Size | 1.1m diameter, ~15 cm thick
|
|---|
| Shape | bottom: flat, top: sphere
|
|---|
| Core composition | USG "Sheetrock 90" (plaster, limestone, crushed perlite, Mica...) + Perlite
|
|---|
| Top layer composition | USG "Sheetrock 90"
|
|---|
| Core density after baking | 0.48
|
|---|
| Weigth | ~80 kg
|
|---|
The main challenge for this mold was to find a material which is light, inexpensive, and dimentionally stable up to ~700 C. I tried many things that didn't work out, from refractory concrete (too heavy) to various mixtures which crumbled at high temperature. The mix I ended up using ("Sheetrock" + perlite) works great and the mold is very light considering its size (it would float on water !). I was surprised to find out that "Sheetrock" handles high temperature very well, while its main ingredient, Plaster of Paris, did very poorly.
Casting
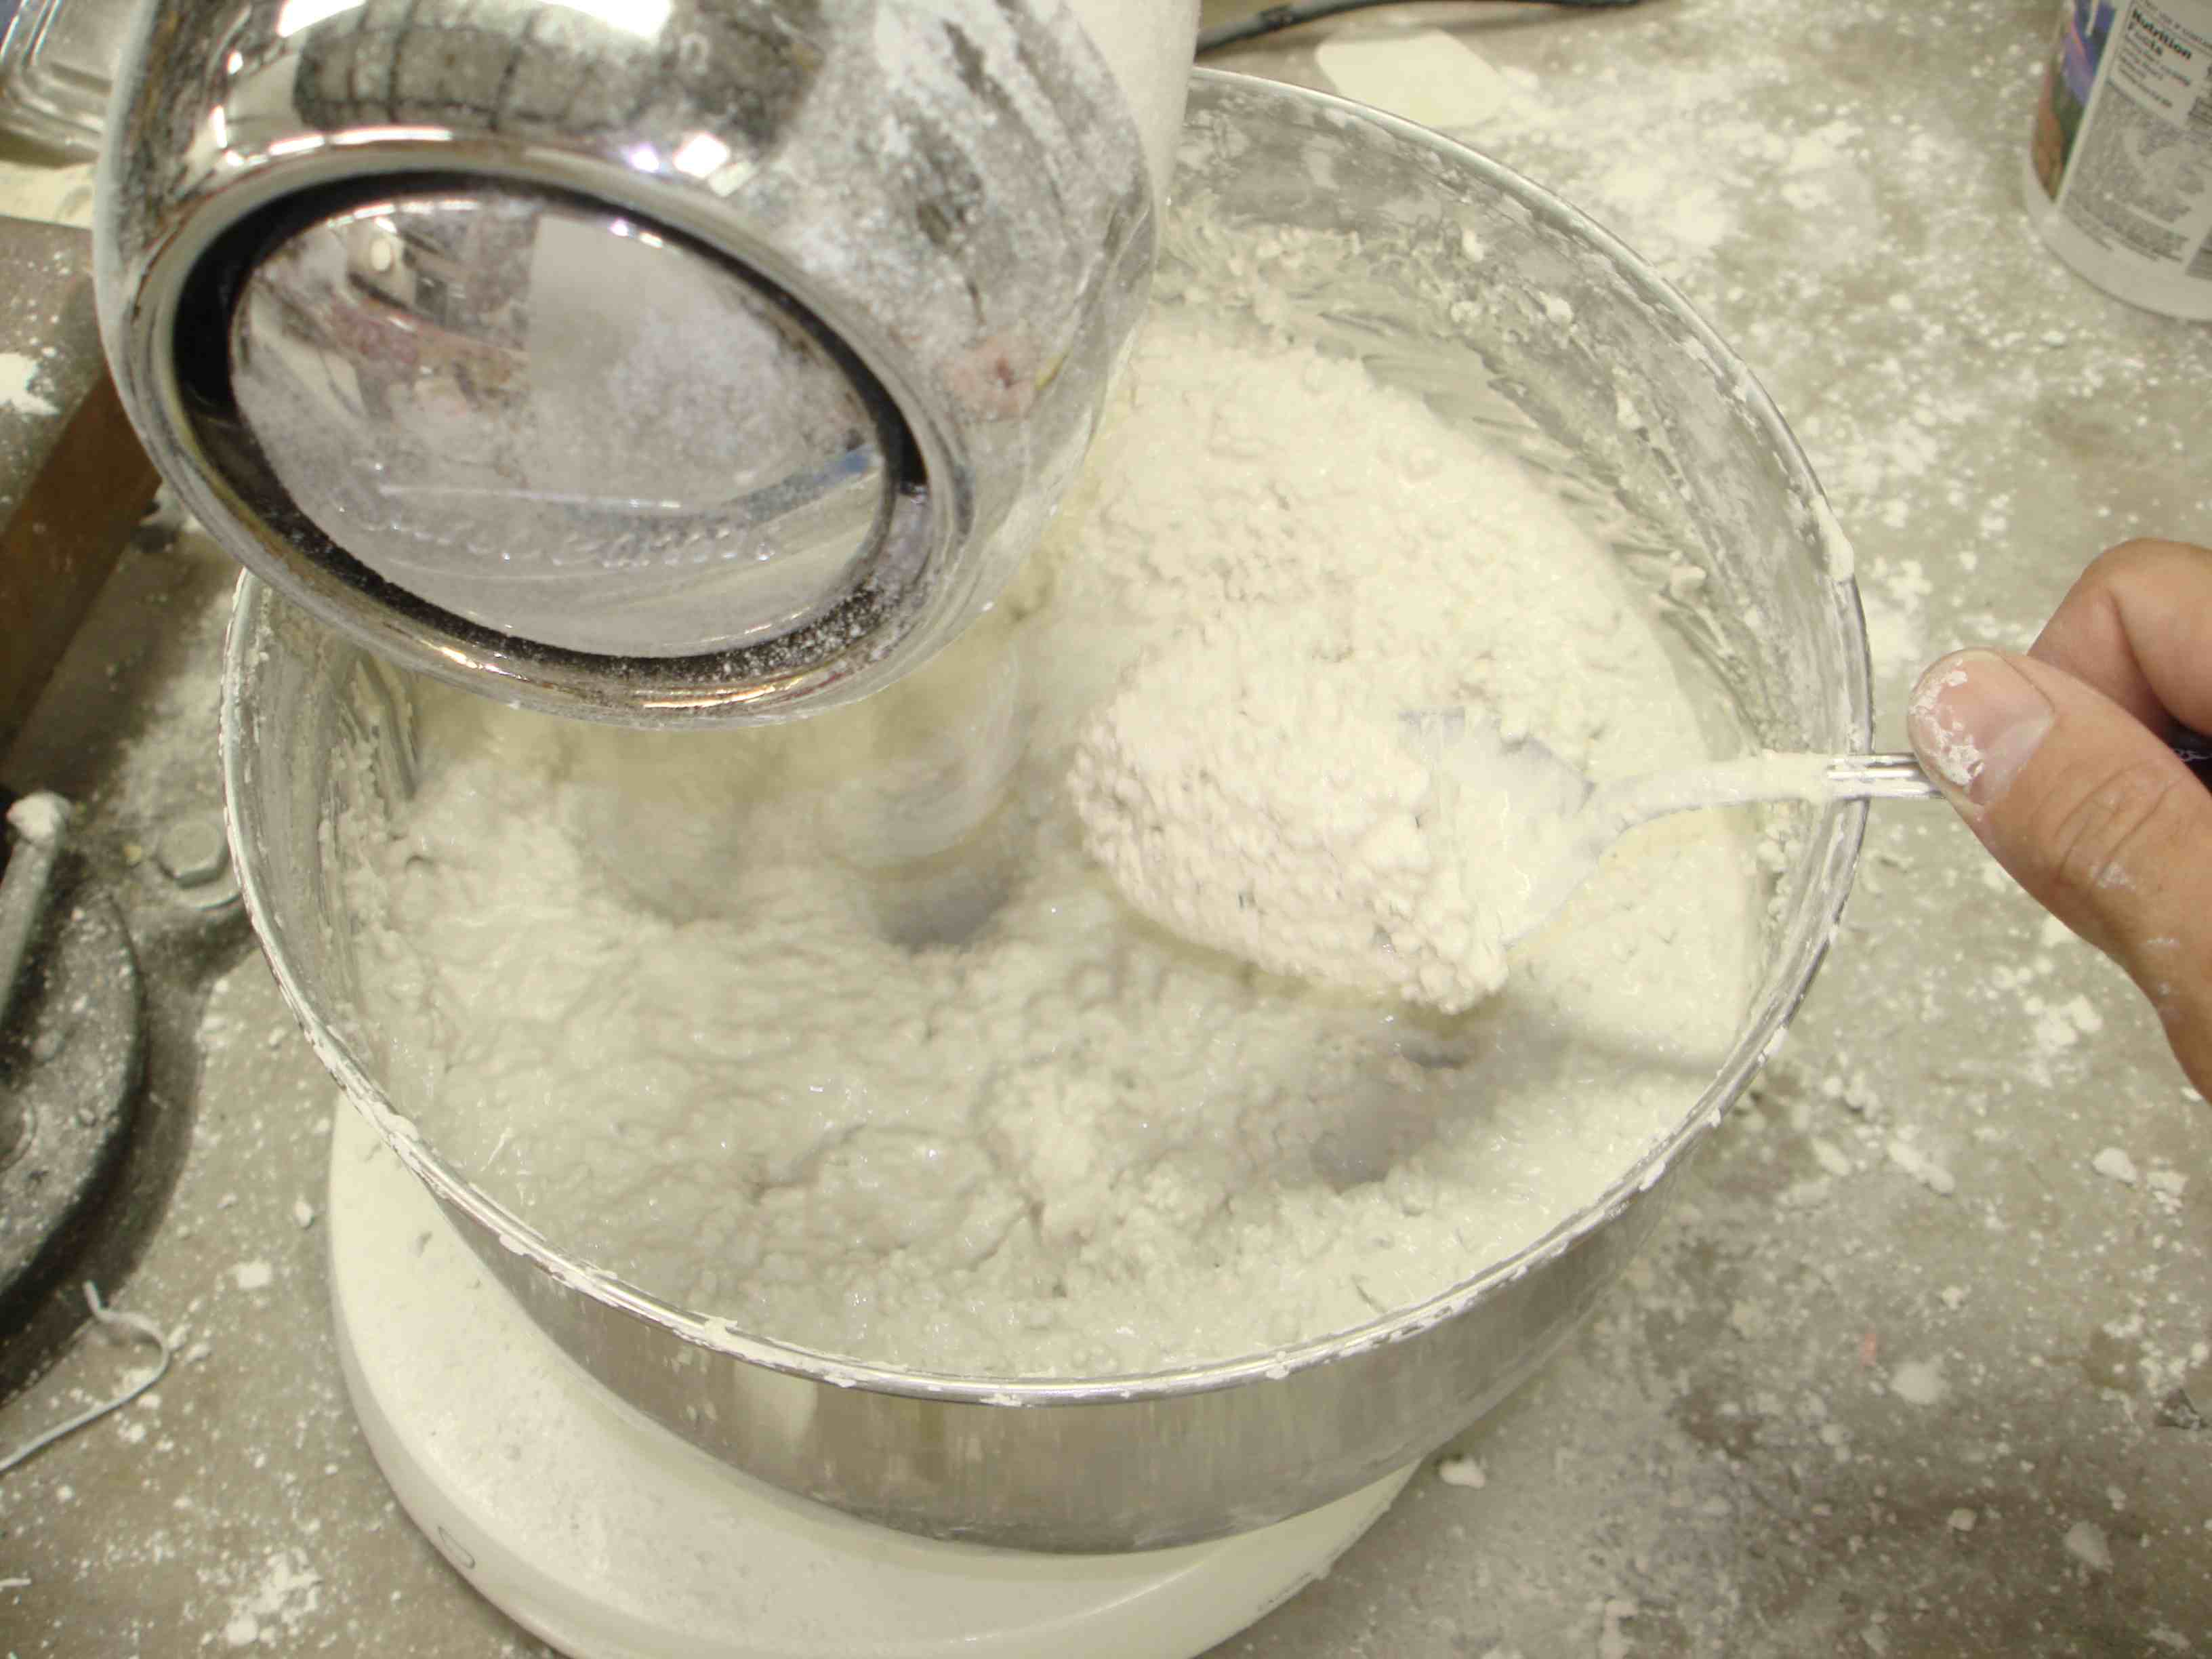 |
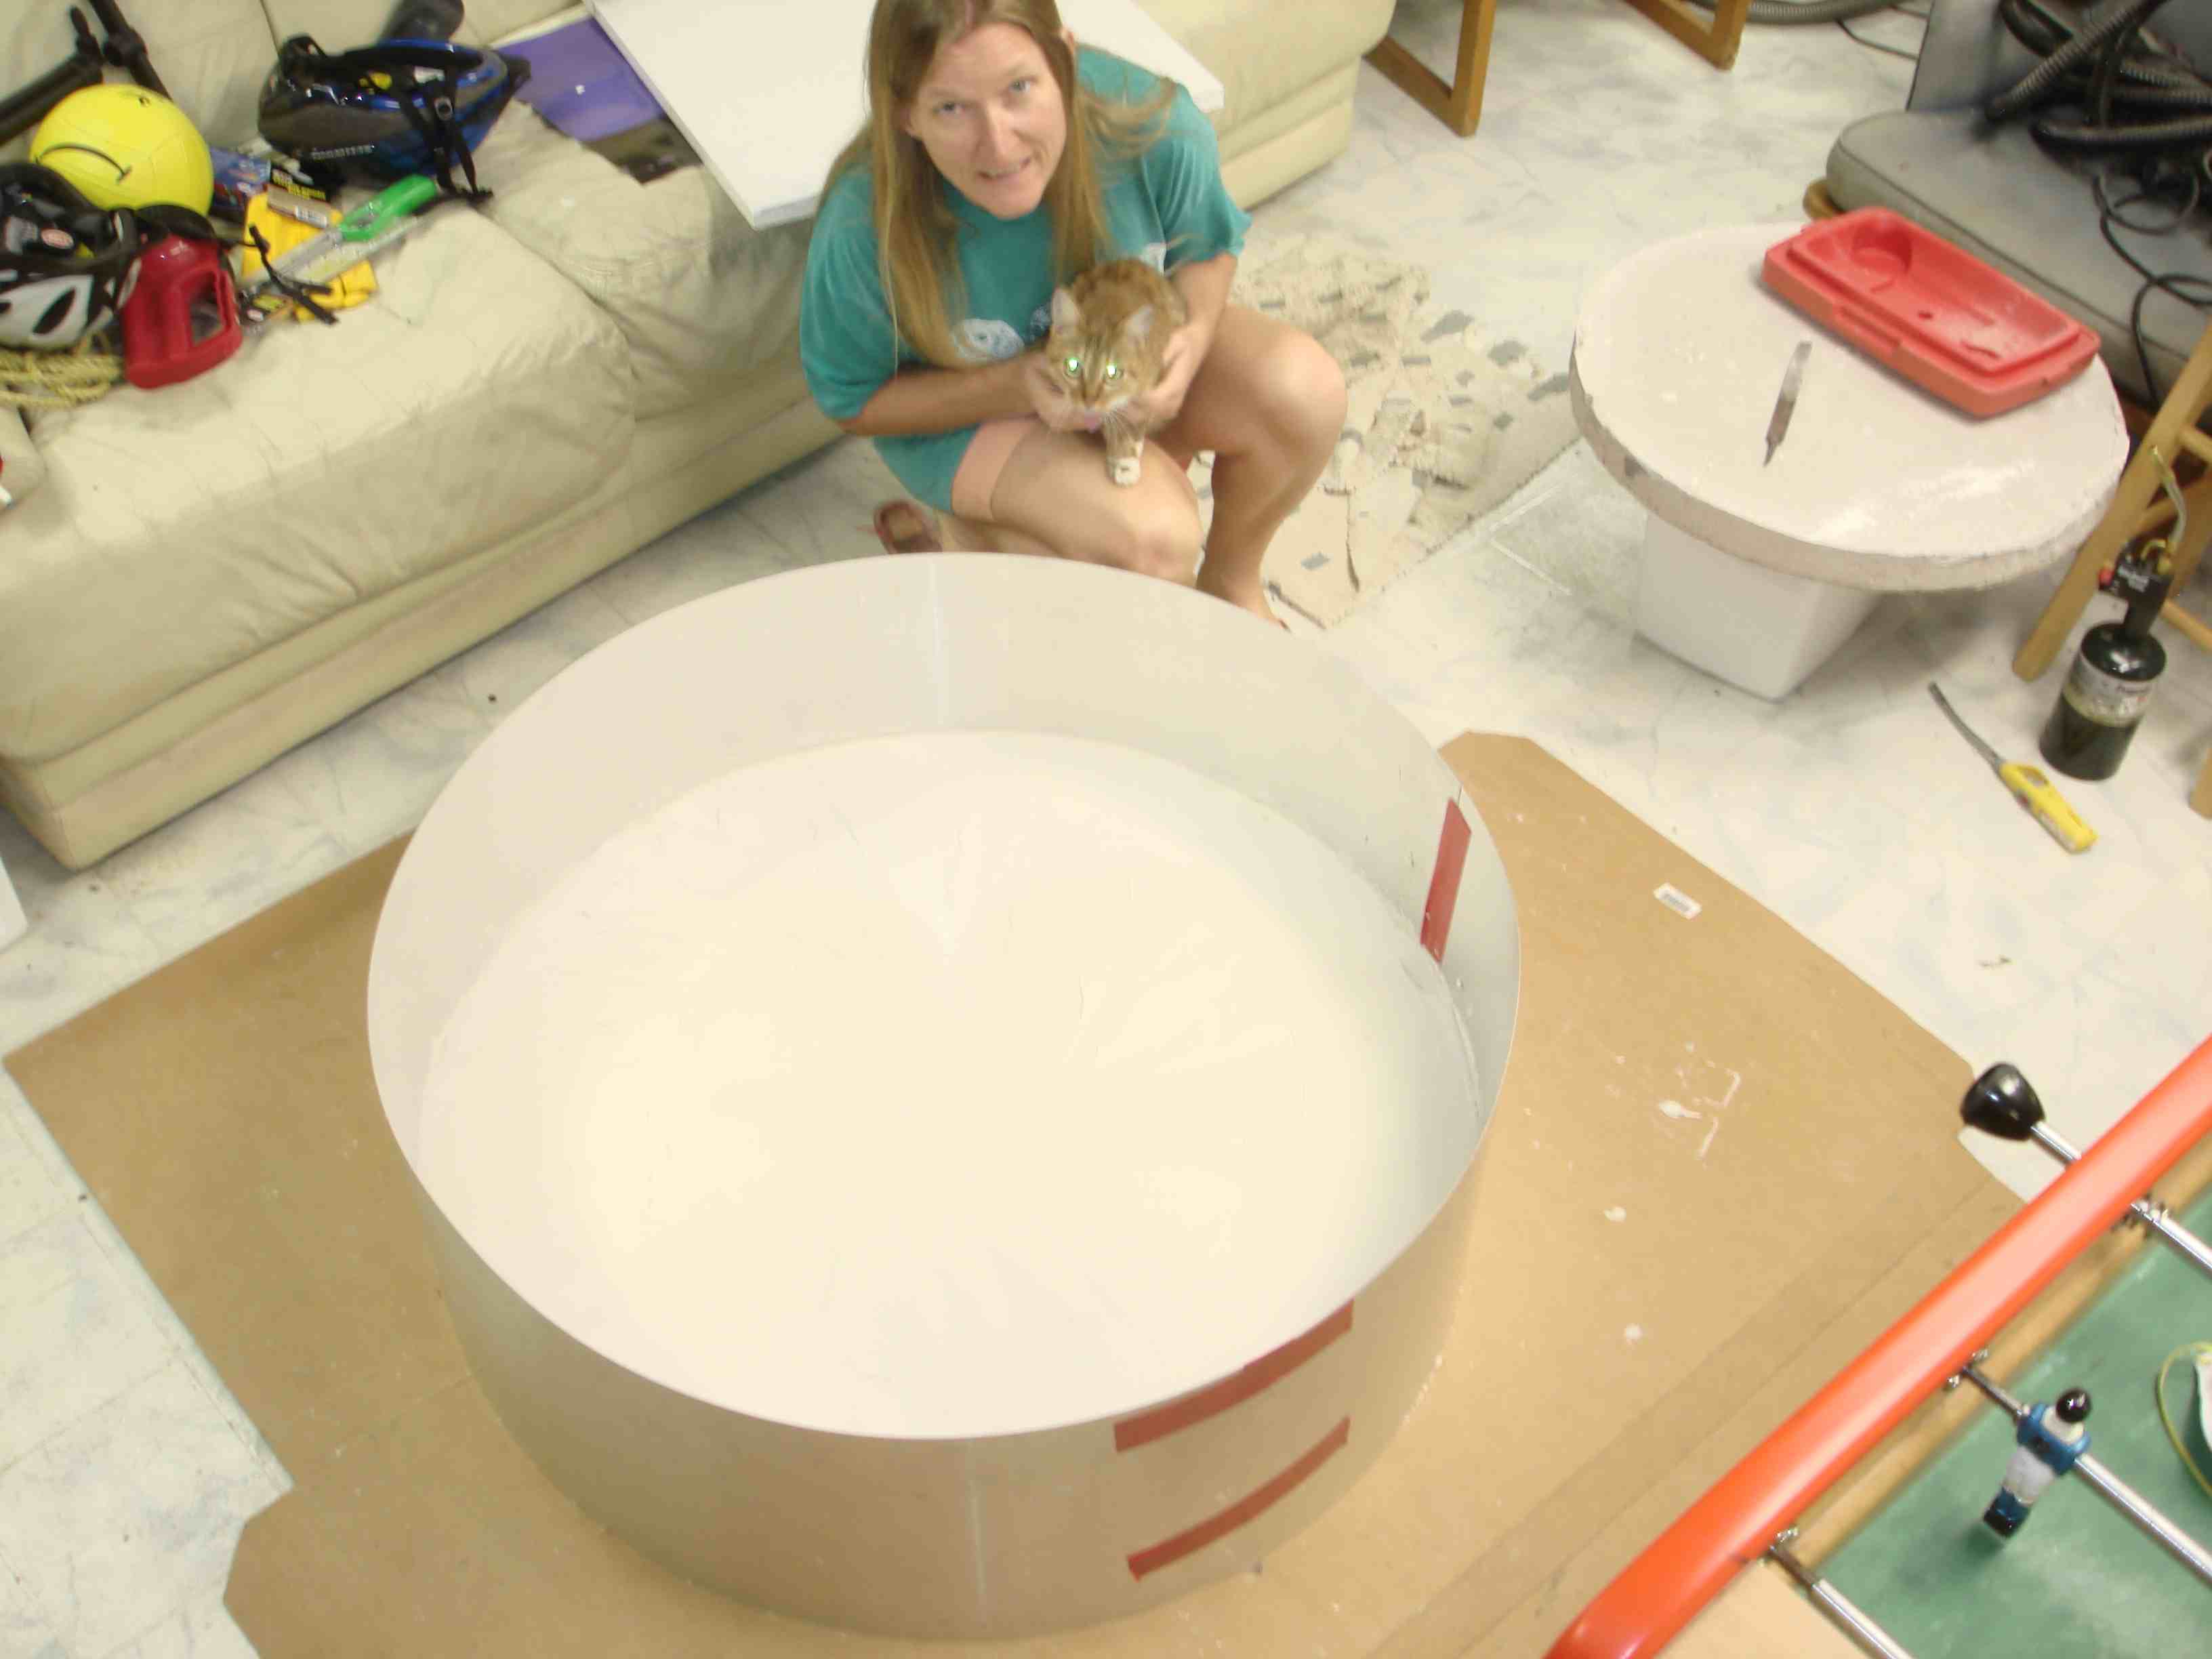
Left: A food mixer is used to mix "Sheetrock 90", water and perlite (47% sheetrock, 41% water, 12% perlite by weigth). Right: The mix is poured into a large thick blank. On the upper right corner of the picture on the right, you can see a smaller prototype blank made with refractory concrete (very strong but too heavy).
The mold casting spanned about 3 weeks, which helped cutting down the drying time (another 3 weeks).
|  |
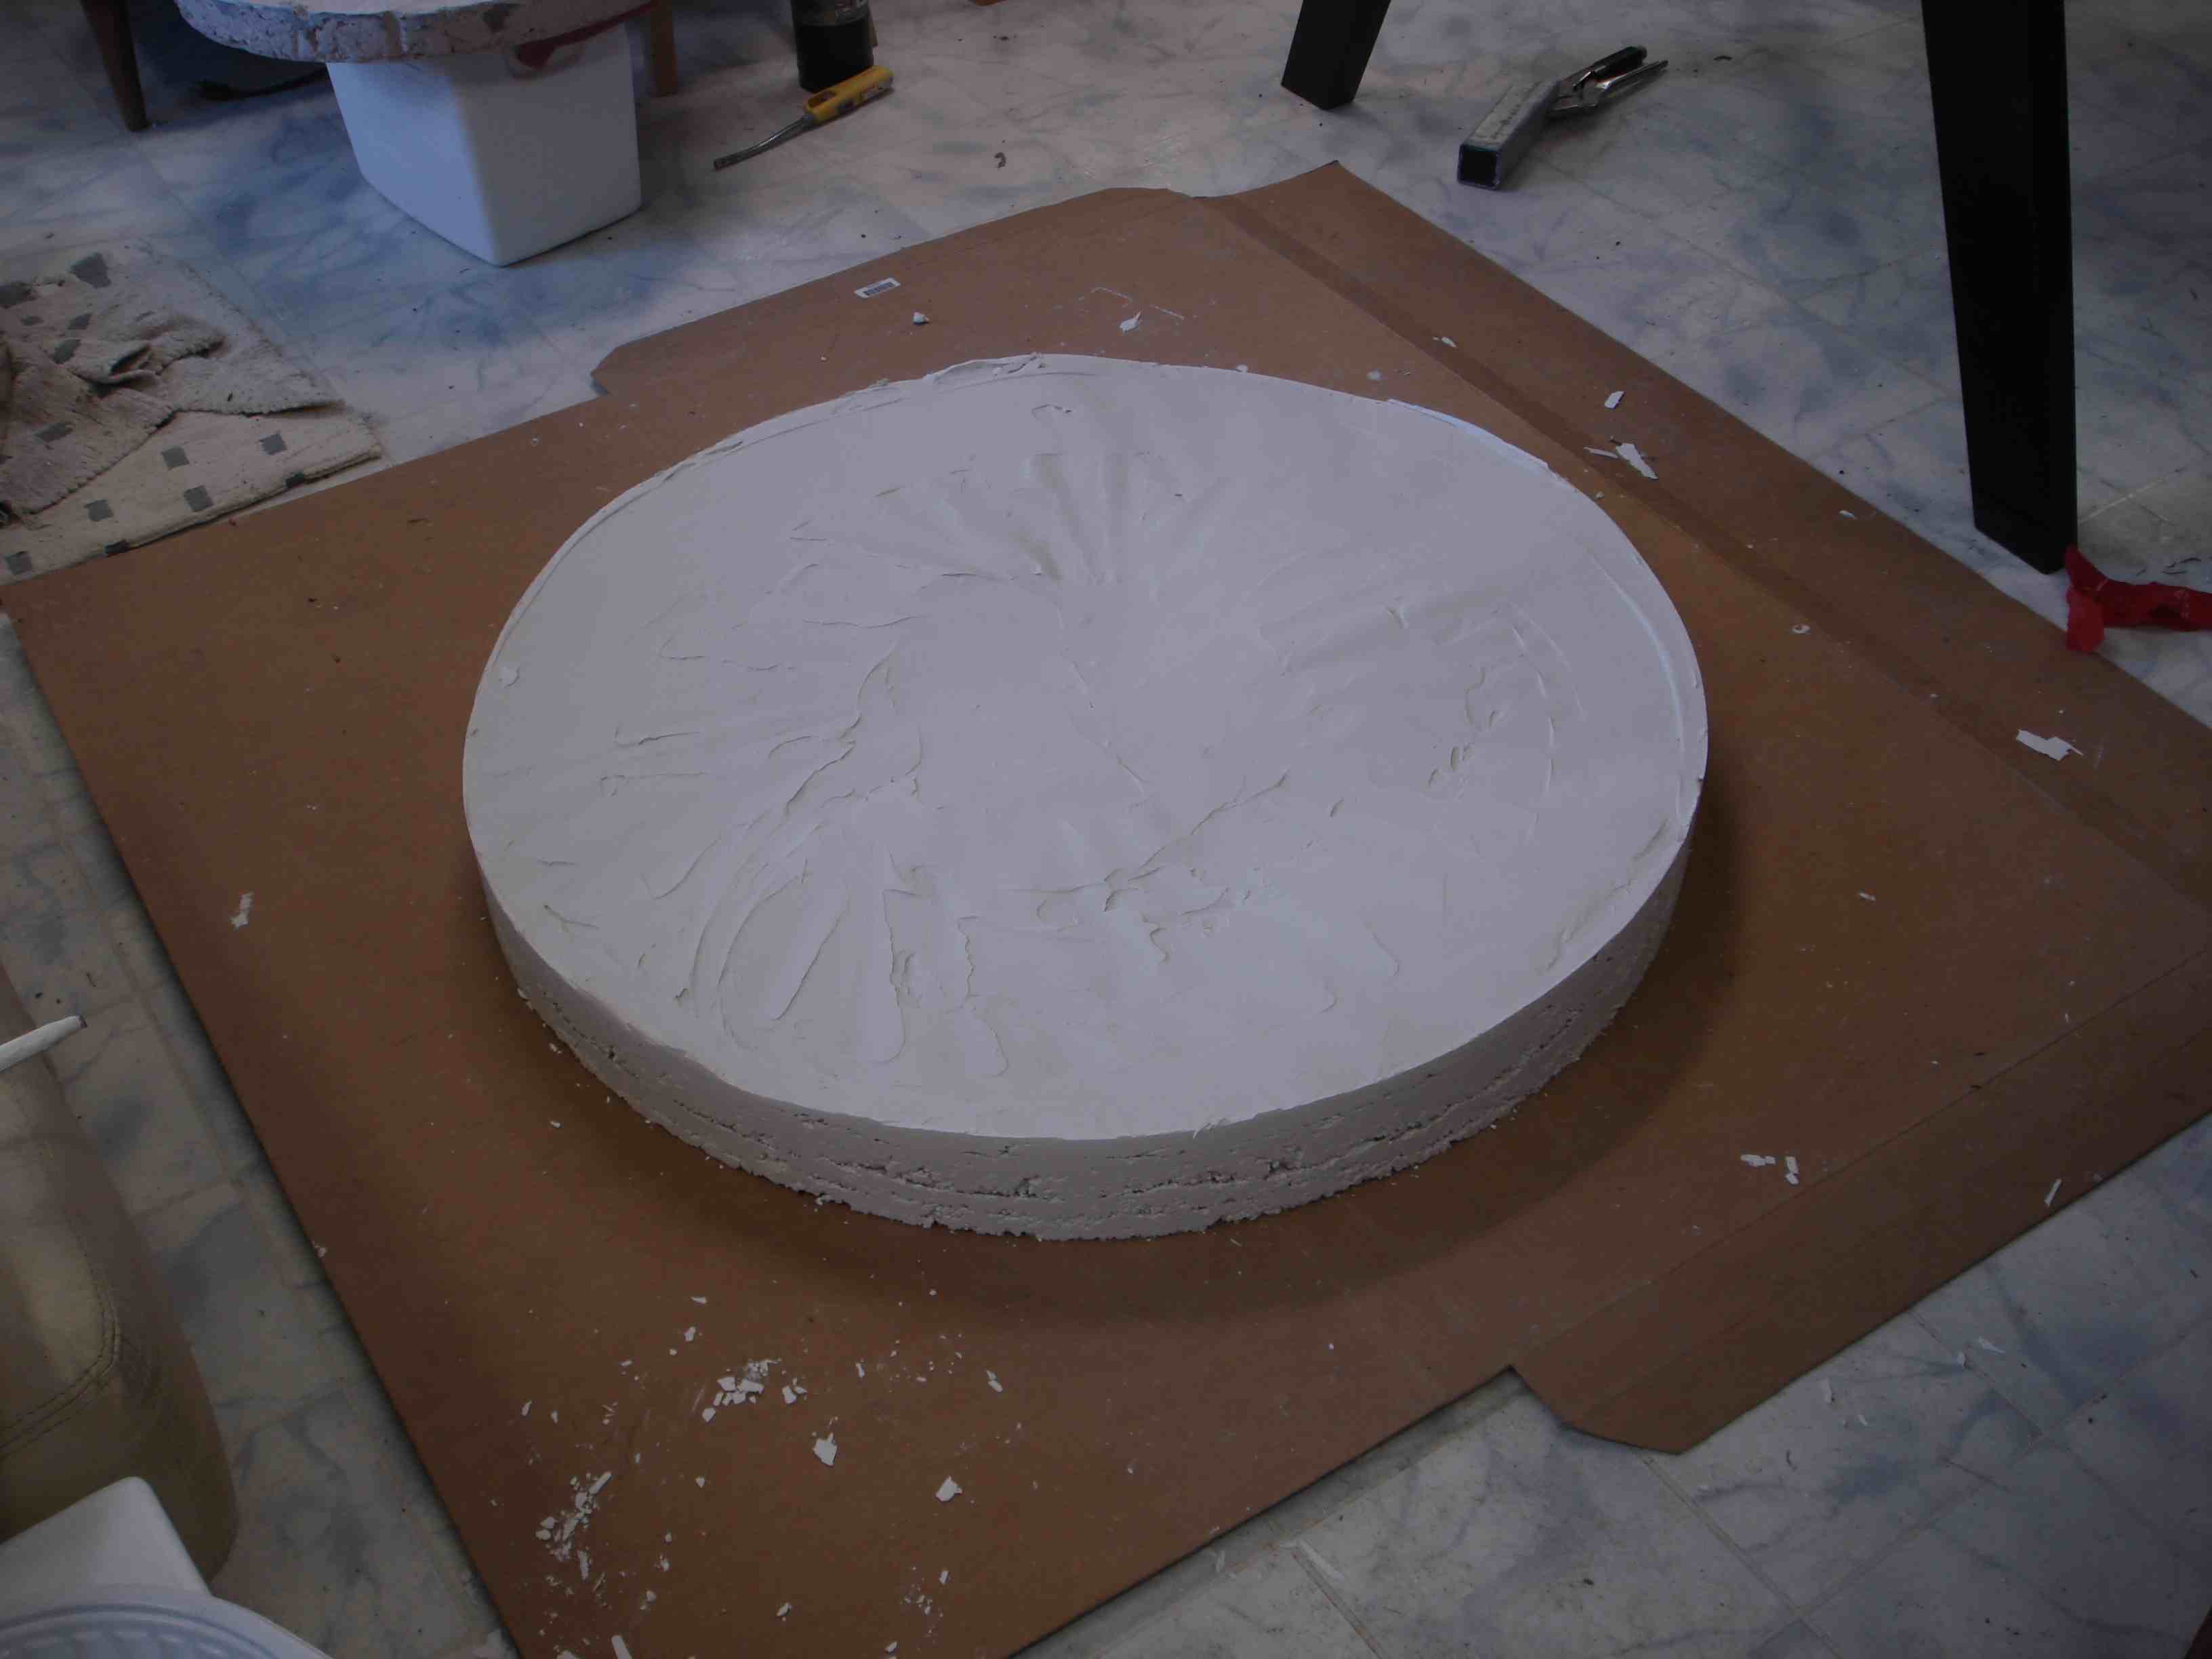
This picture shows the mold when casting is nearly complete. Most of the mold is made with the sheetrock+perlite mix to minimize weigth, but the top layer (about 4cm thick) is made with 100% sheetrock (coarse perlite grains would make it impossible to produce the precise smooth surface neeeded for slumping).
|
 |
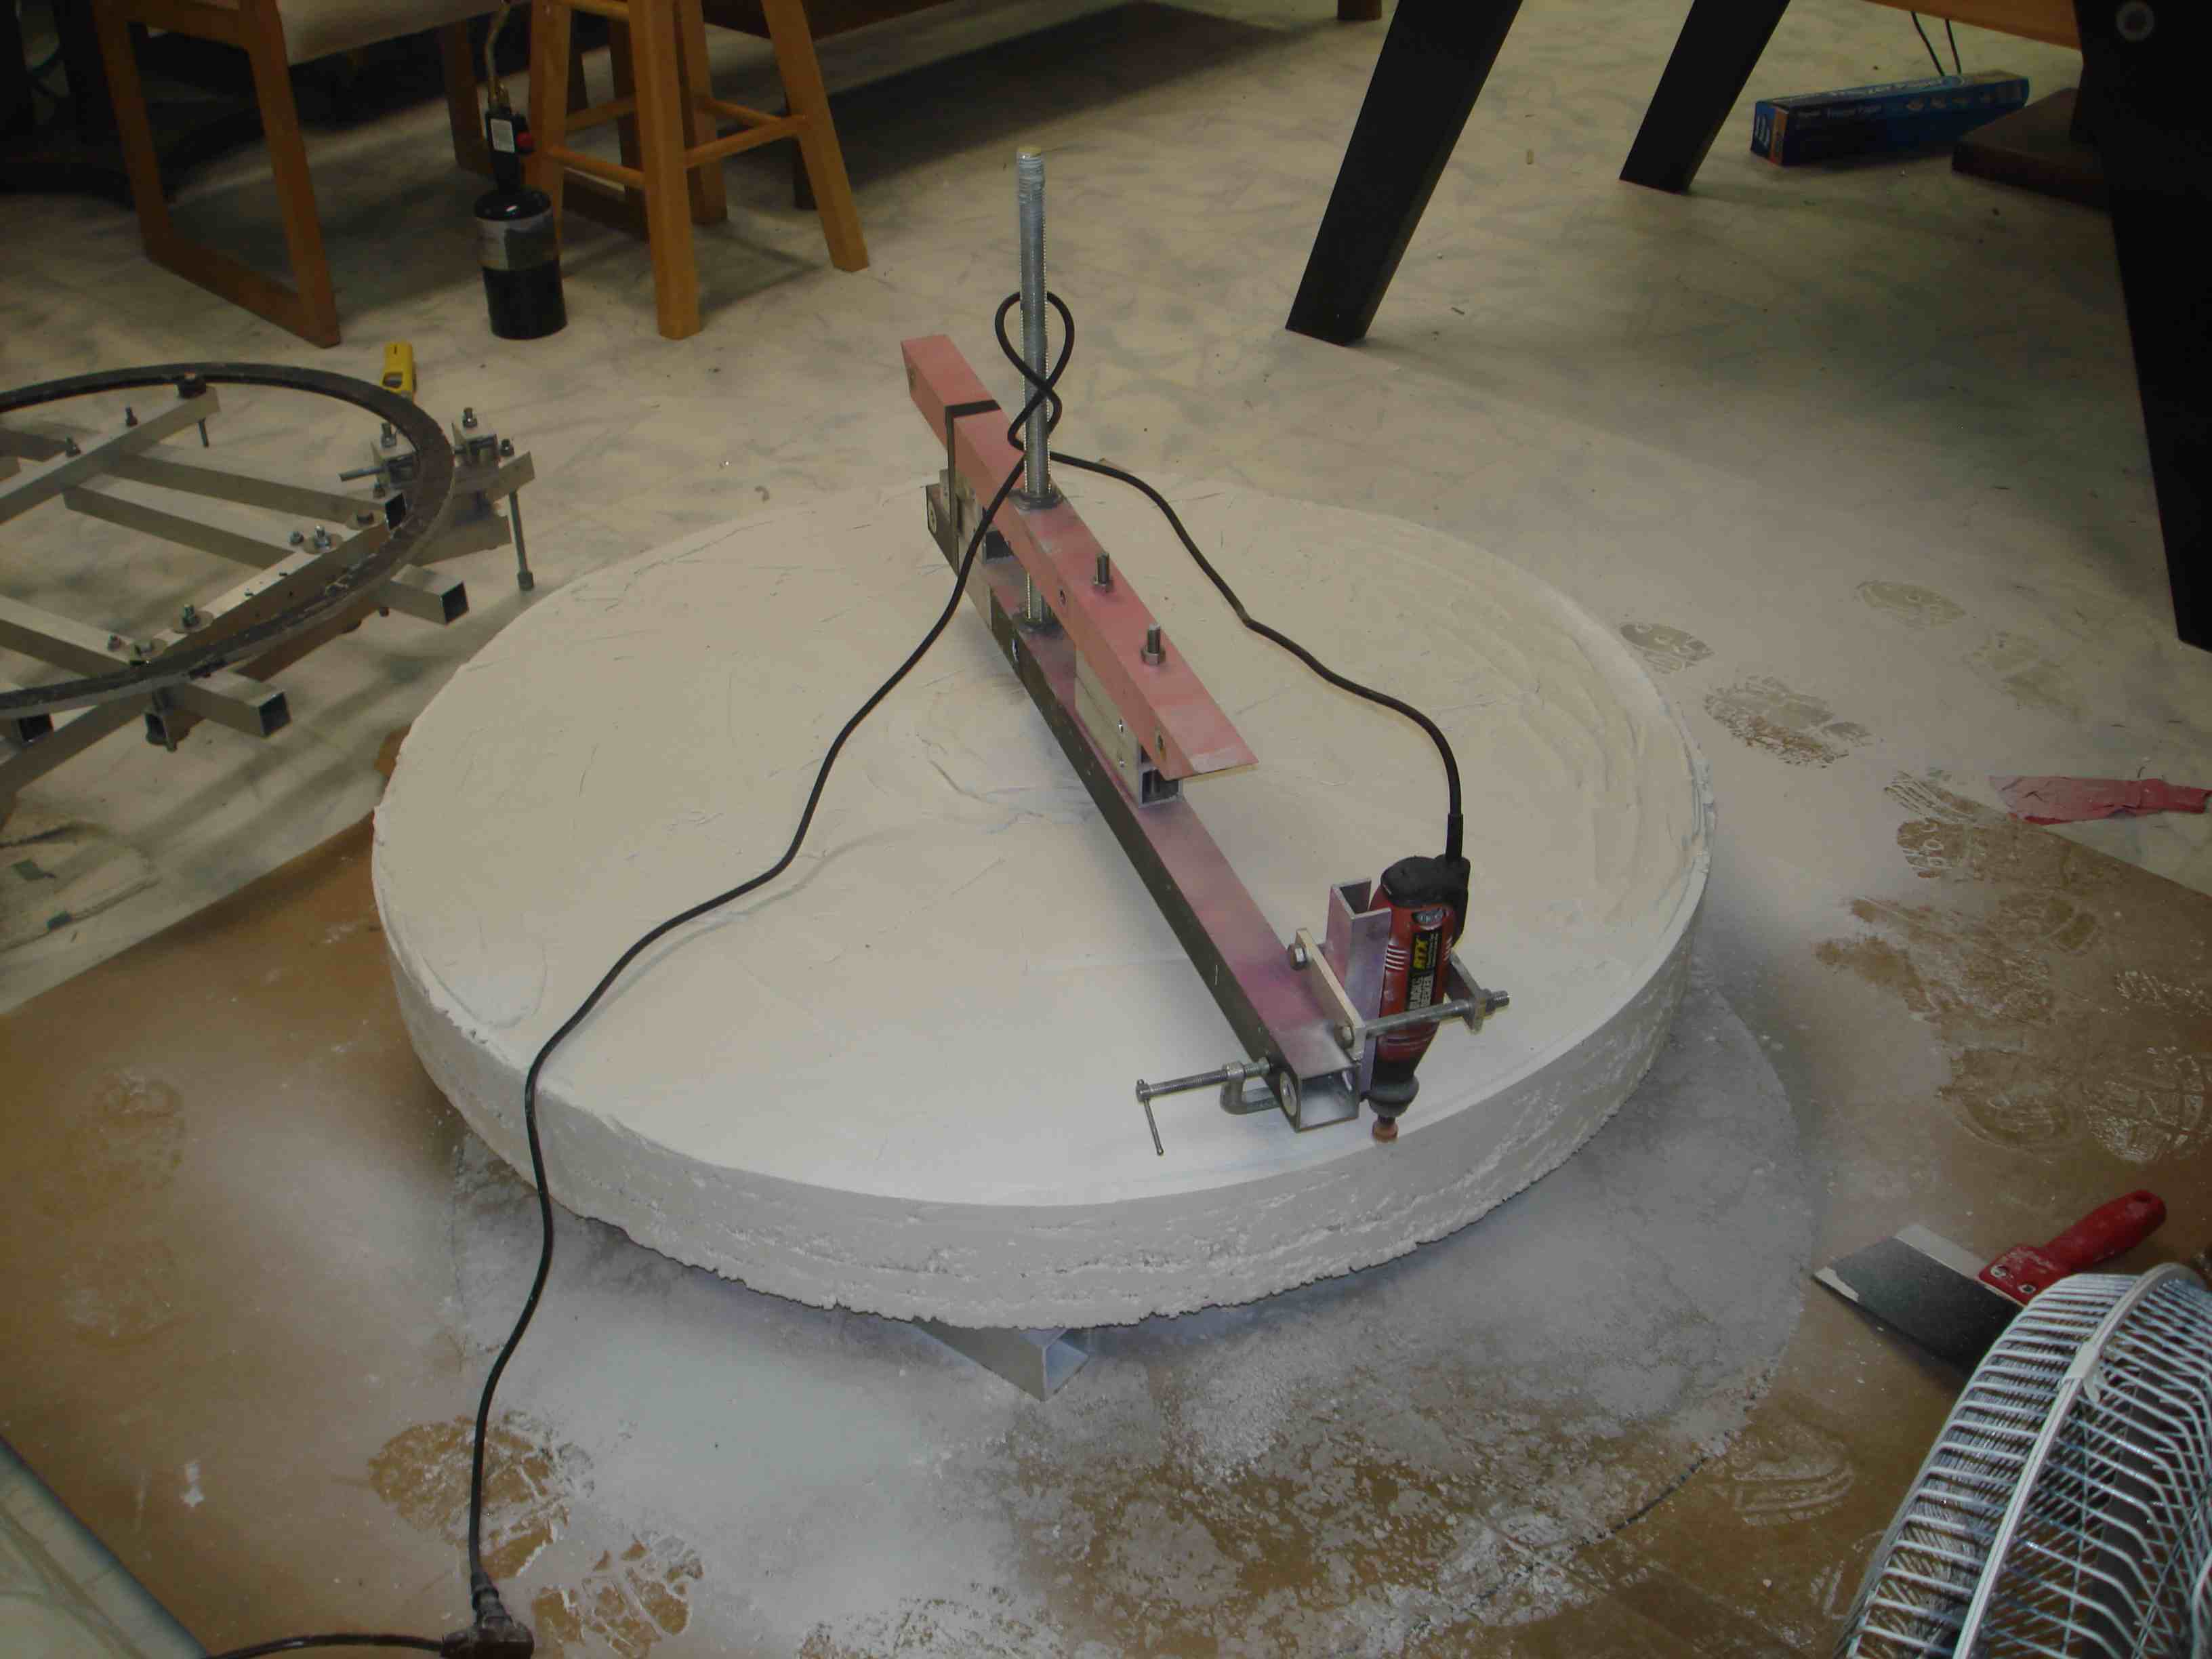
Rough shaping
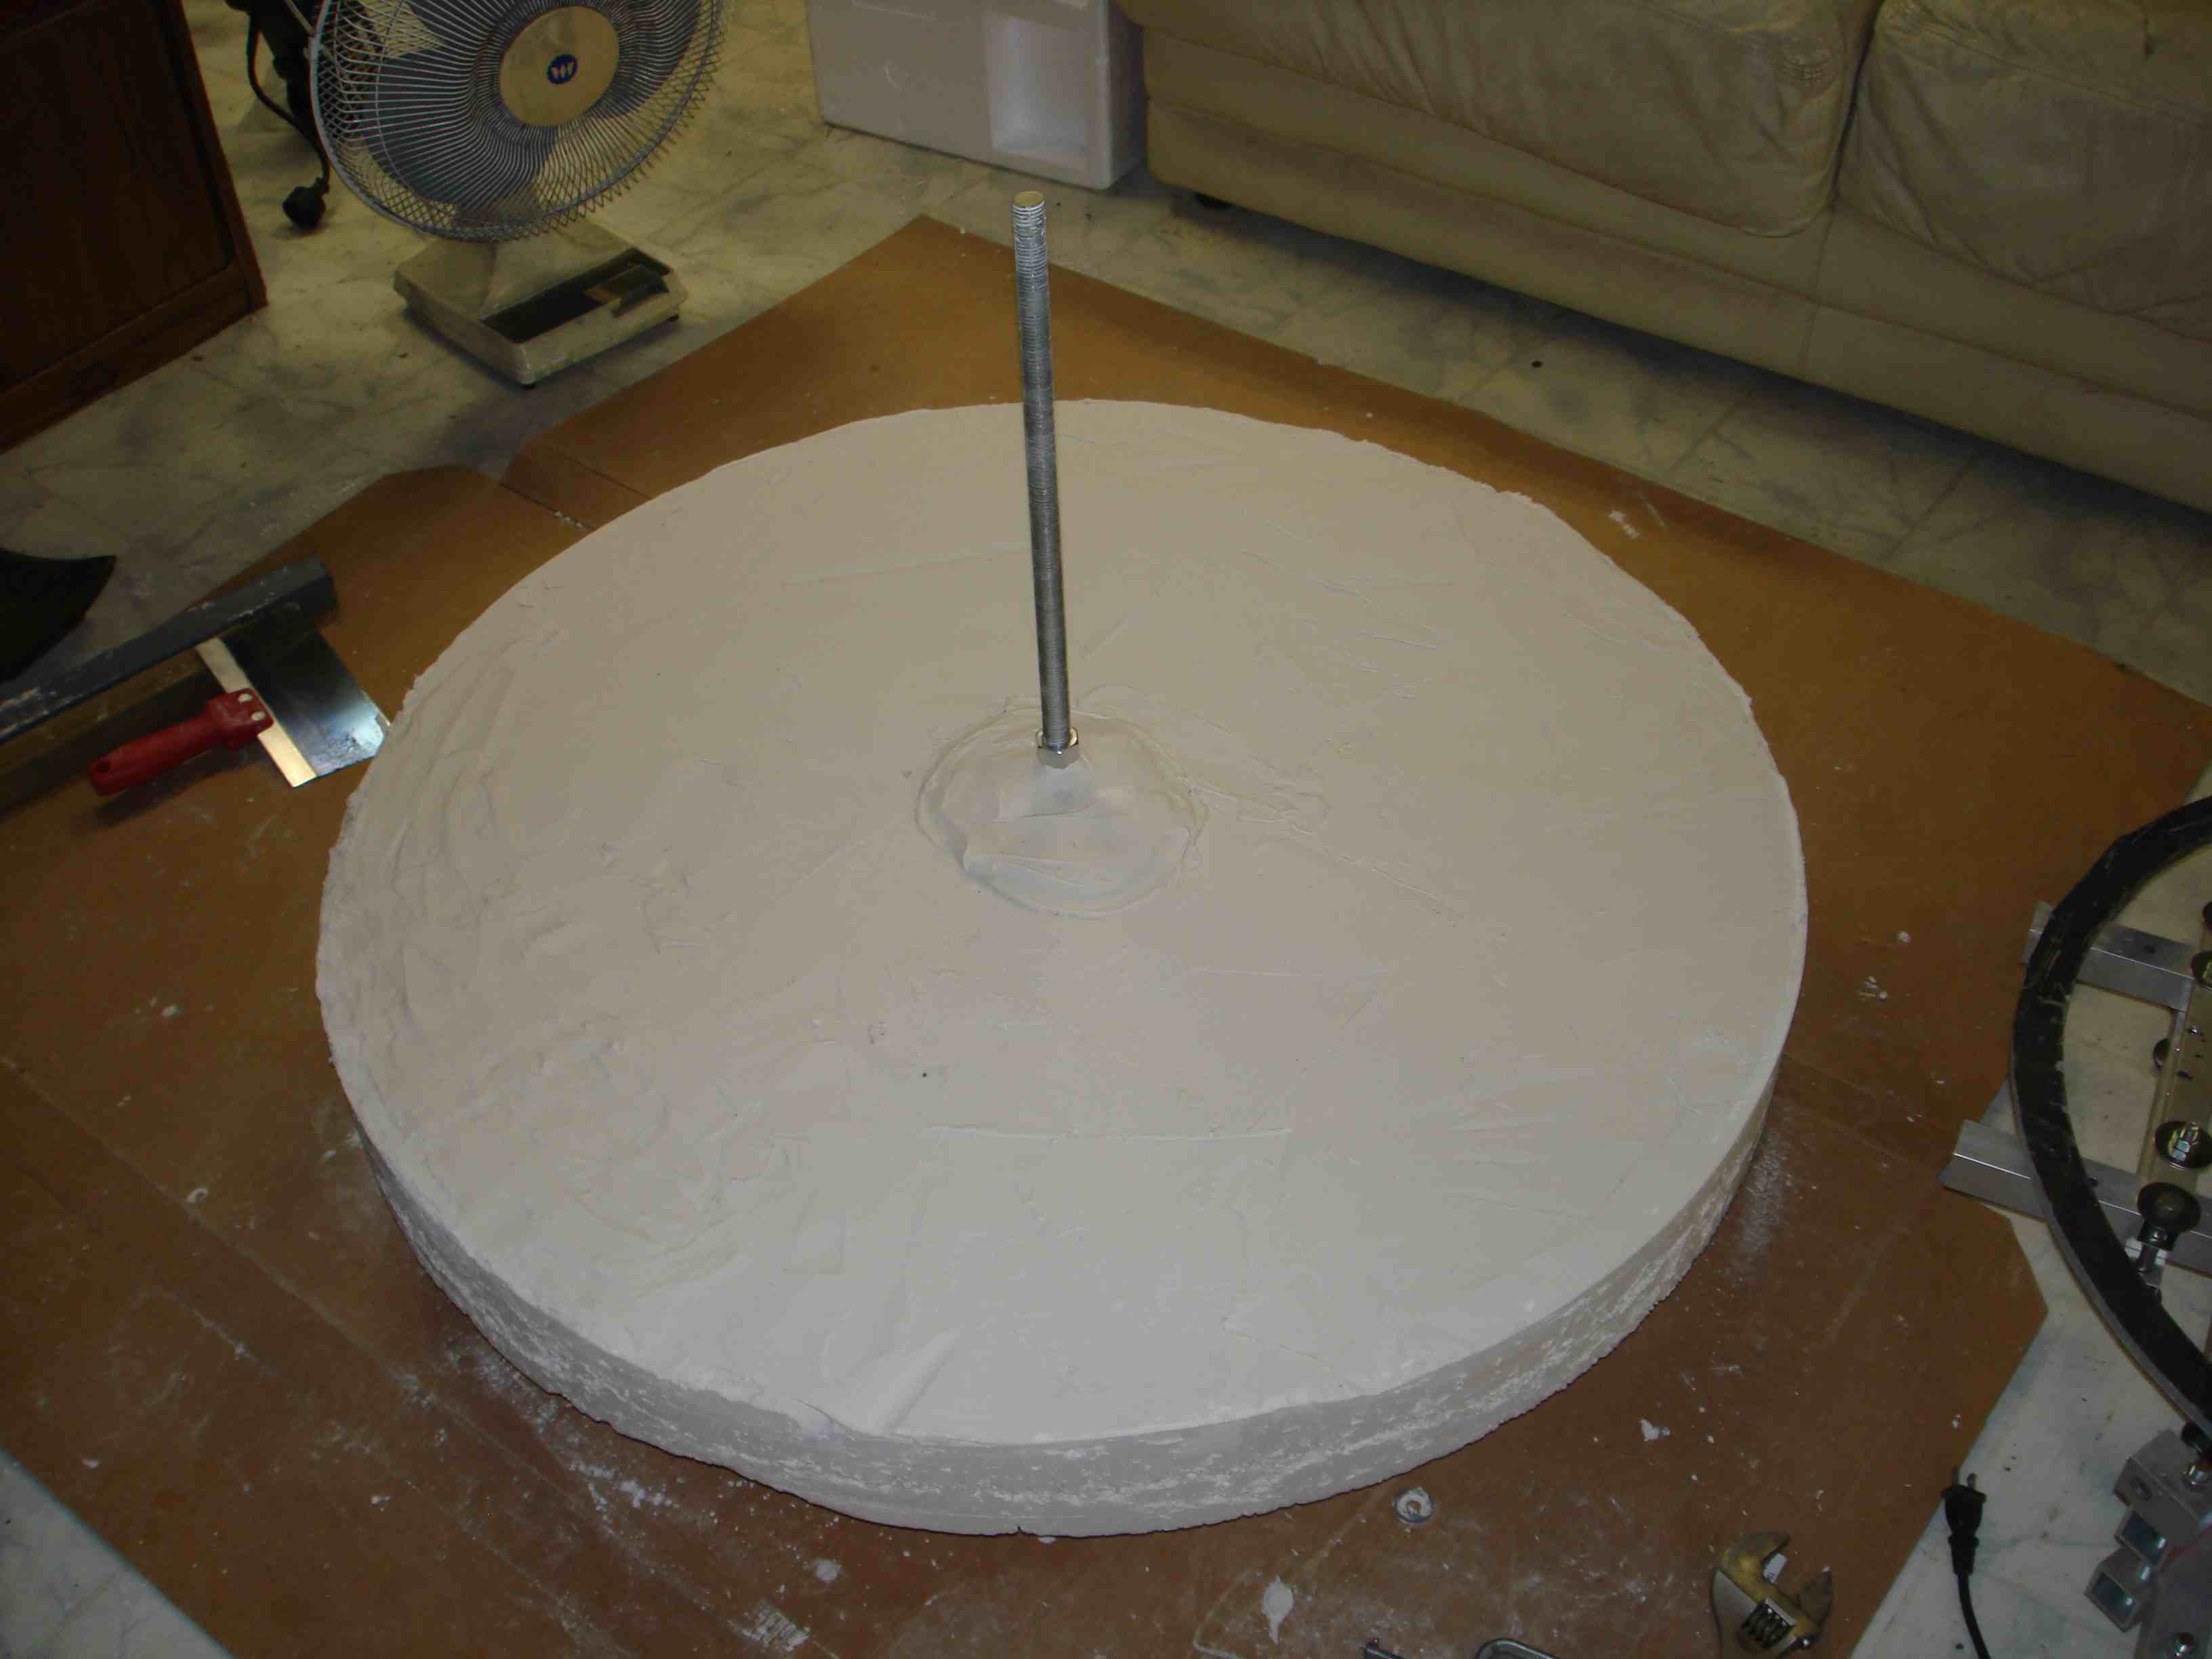 |
Left: A threaded rod was inserted in the center of the mold. Right: The rod is used as a rotation axis for the rough grinding tool (this made lots of dust !).
|  |
Baking
The mold needs to "bake" at high temperature prior to fine grinding. During the baking, the mold releases a lot of water (Gypsum turns back into plaster, releasing steam) and shrinks. After being baked, the mold should stay dimentionally stable between room temperature and slumping temperature.
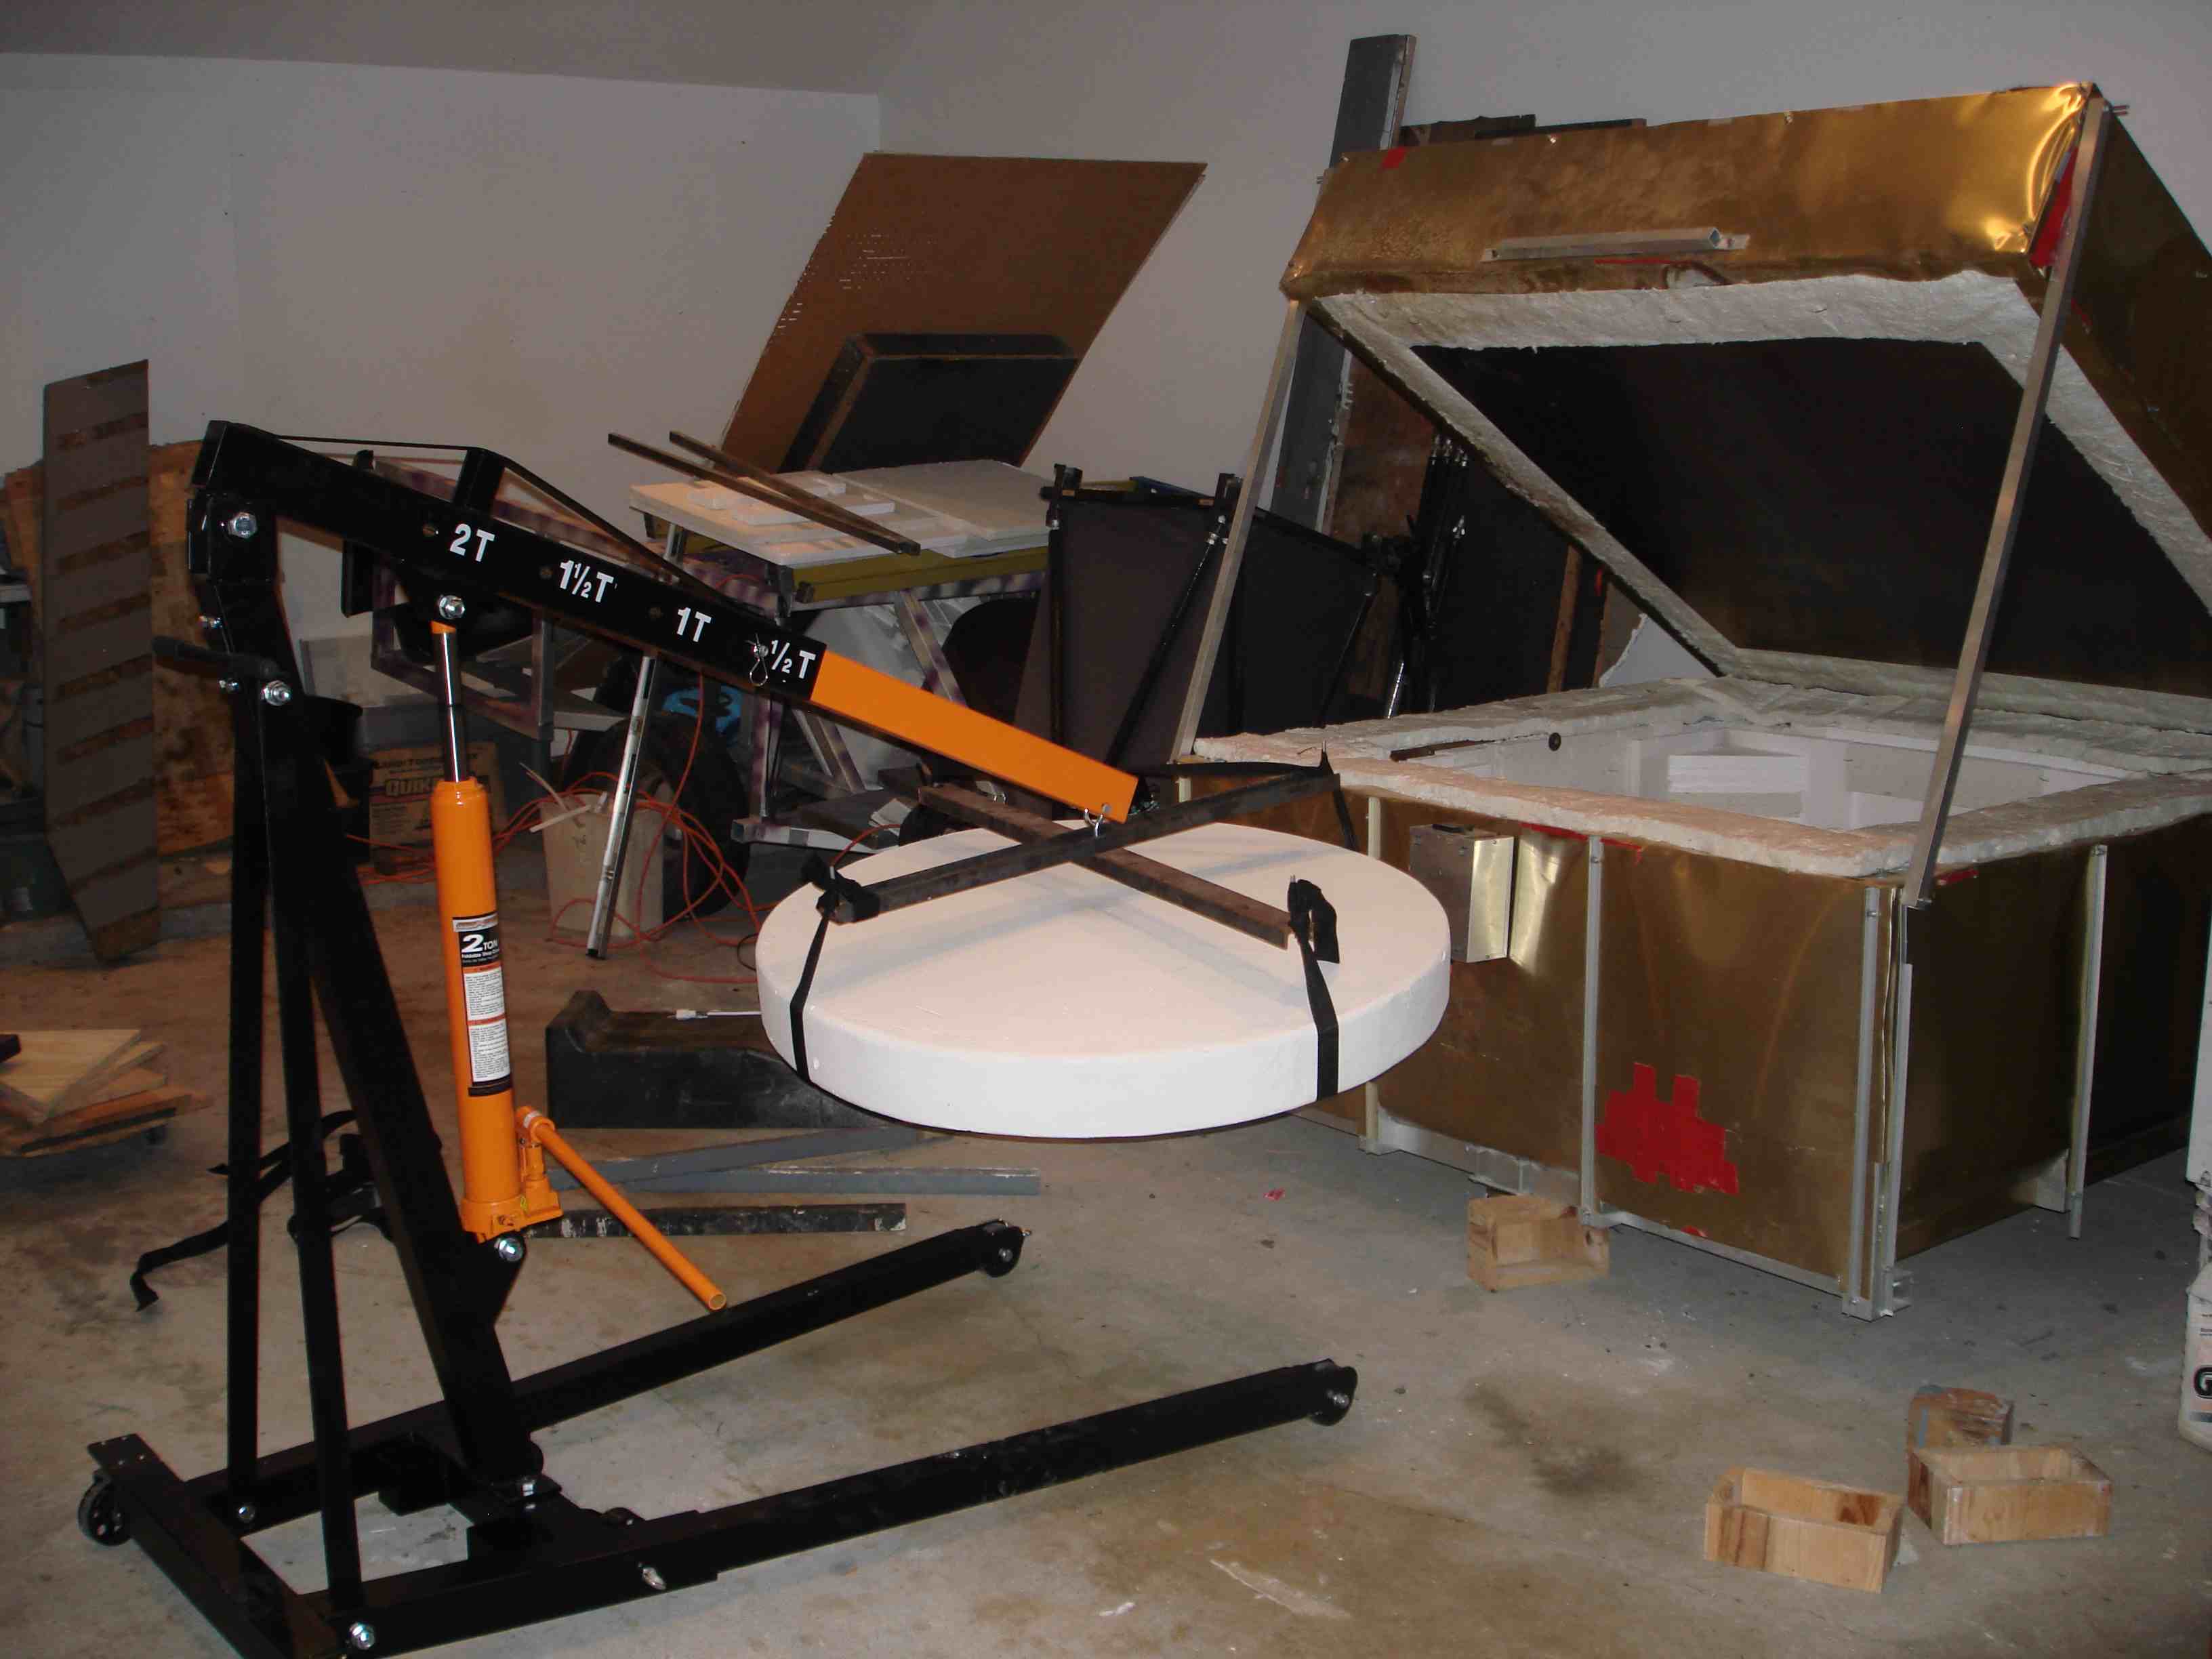 |
Left: Putting the mold inside the oven is done with the help of an engine hoist. A steel "cross" is used to keep the black straps short in order to clear the oven lid. The mold is still very heavy because it is loaded with water. After baking, the mold will be much lighter.
The picture on the right shows the mold inside the oven. The 1.1m diameter mold takes up most of the space available: there is only a couple of cm of clearance between the edge of the mold and the heating element.
|
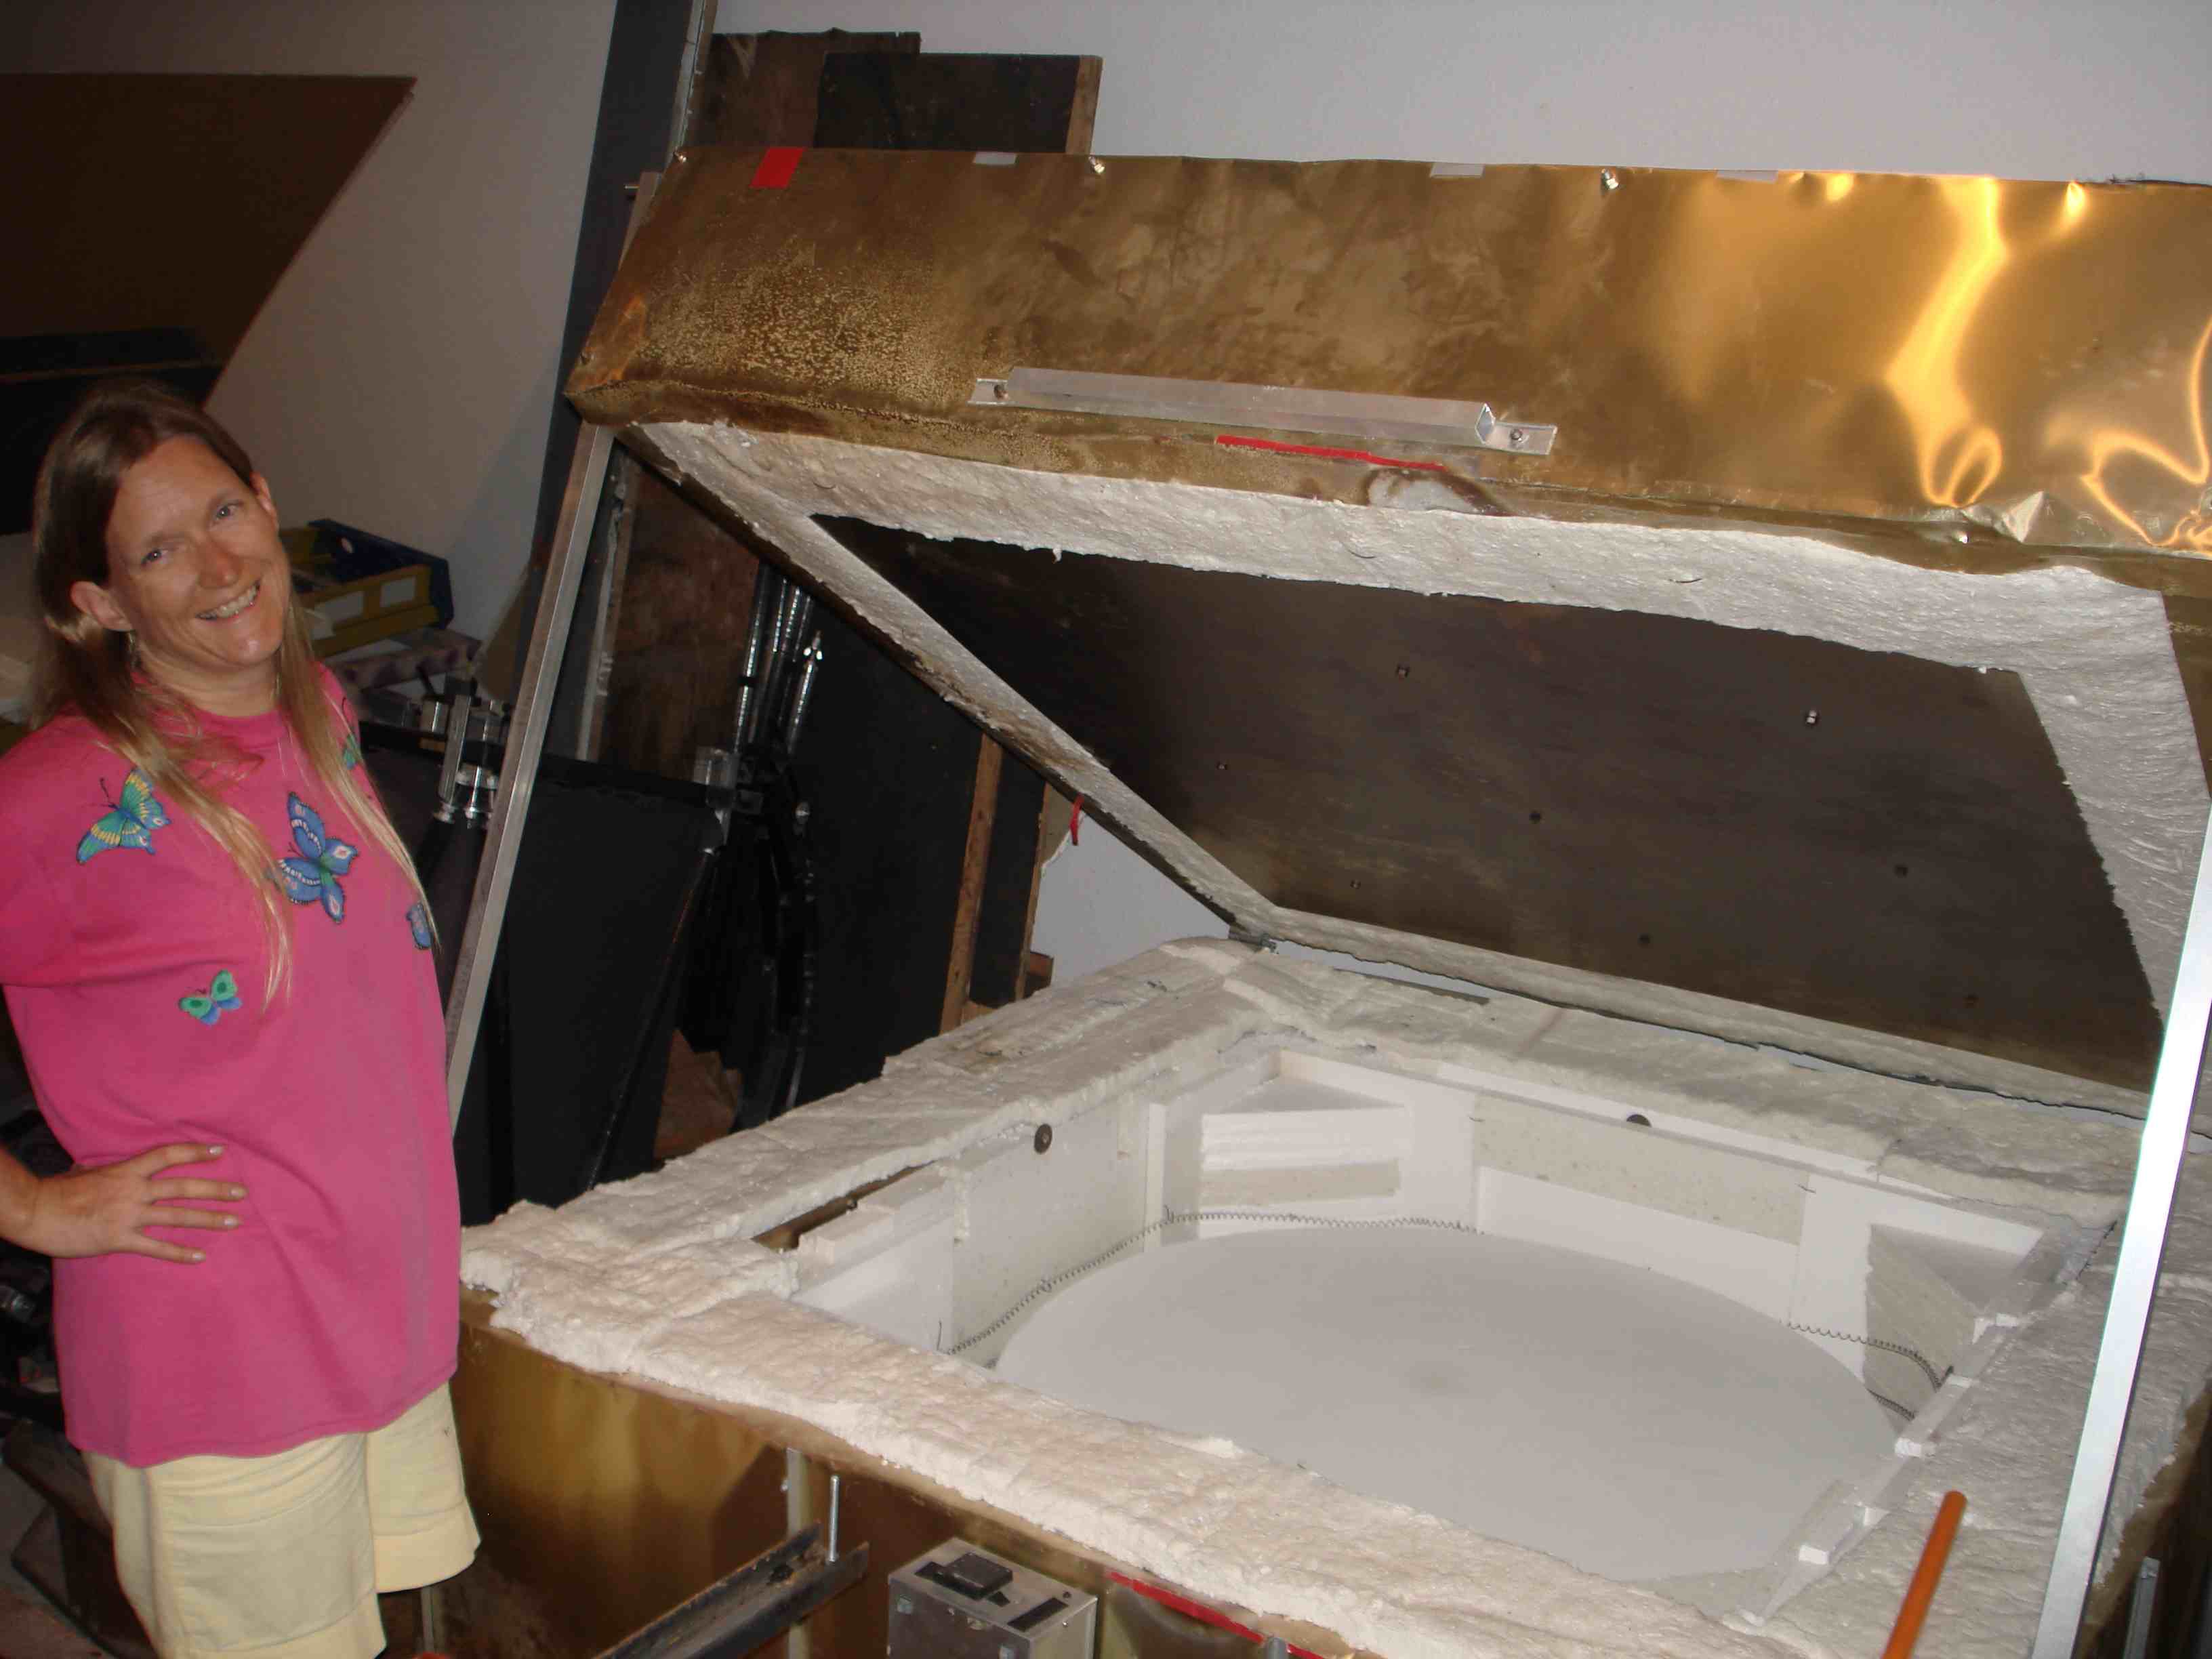 |
Baking takes a while (2-3 weeks), and temperature needs to be increased slowly to avoid craking the mold because of excessive steam pressure within the mold. It's important to leave a way for the steam to slowly escape the oven during baking.
Page content last updated:
27/06/2023 06:35:52 HST
html file generated 27/06/2023 06:34:42 HST
|
