Ultralight 36" telescope project

High temperature oven

Oven Characteristics
Outer shell physical size 1.62m x 1.62m x 0.98m
Inner chamber size 1.1m x 1.1m
Maximum temperature ~1000 C
Total weigth ~200 kg
Heating element single 2.5 kW Kanthal wire @ 240V AC
Heat loss < 500W at 700 C


Oven (lid open) 
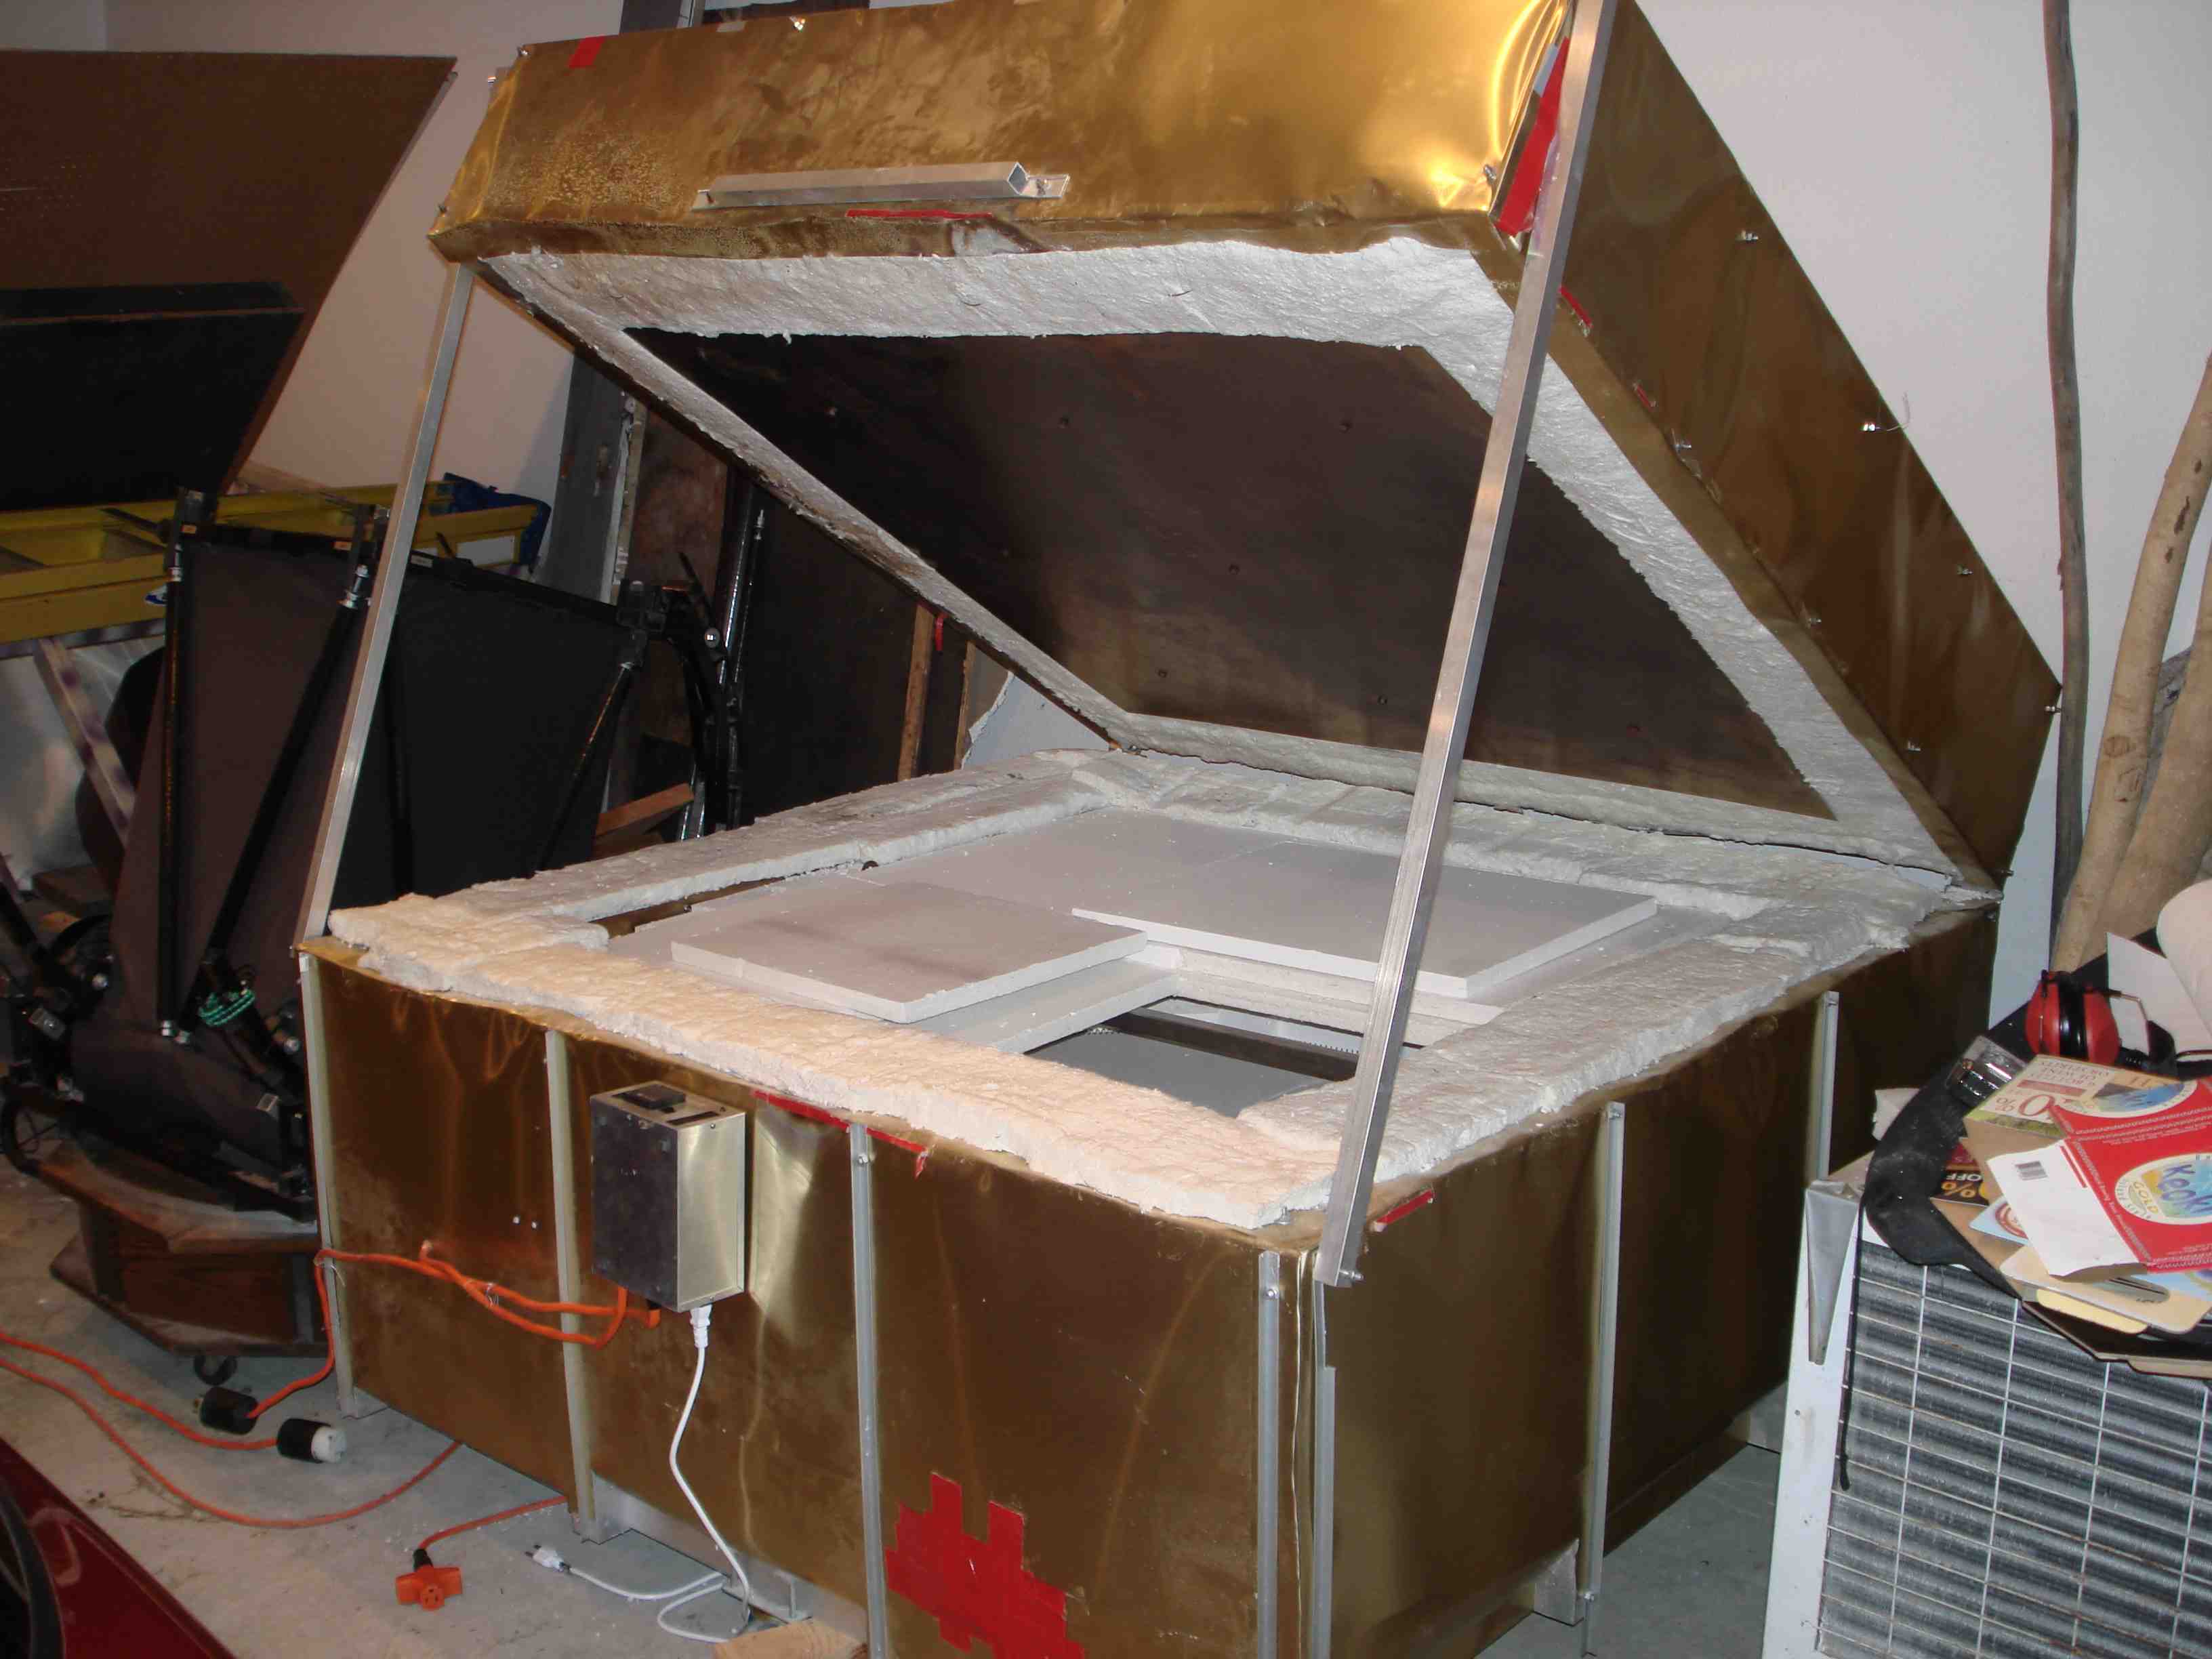
The oven is used for slumping glass over a mold, and can accomodate up to ~1.1m diameter blanks/molds. It is very lightweight (when empty !) and can be easily wheeled around in my garage. Several friends have suggested it would be best used to cook large pizzas/cakes/meat (a pig would fit in it!).
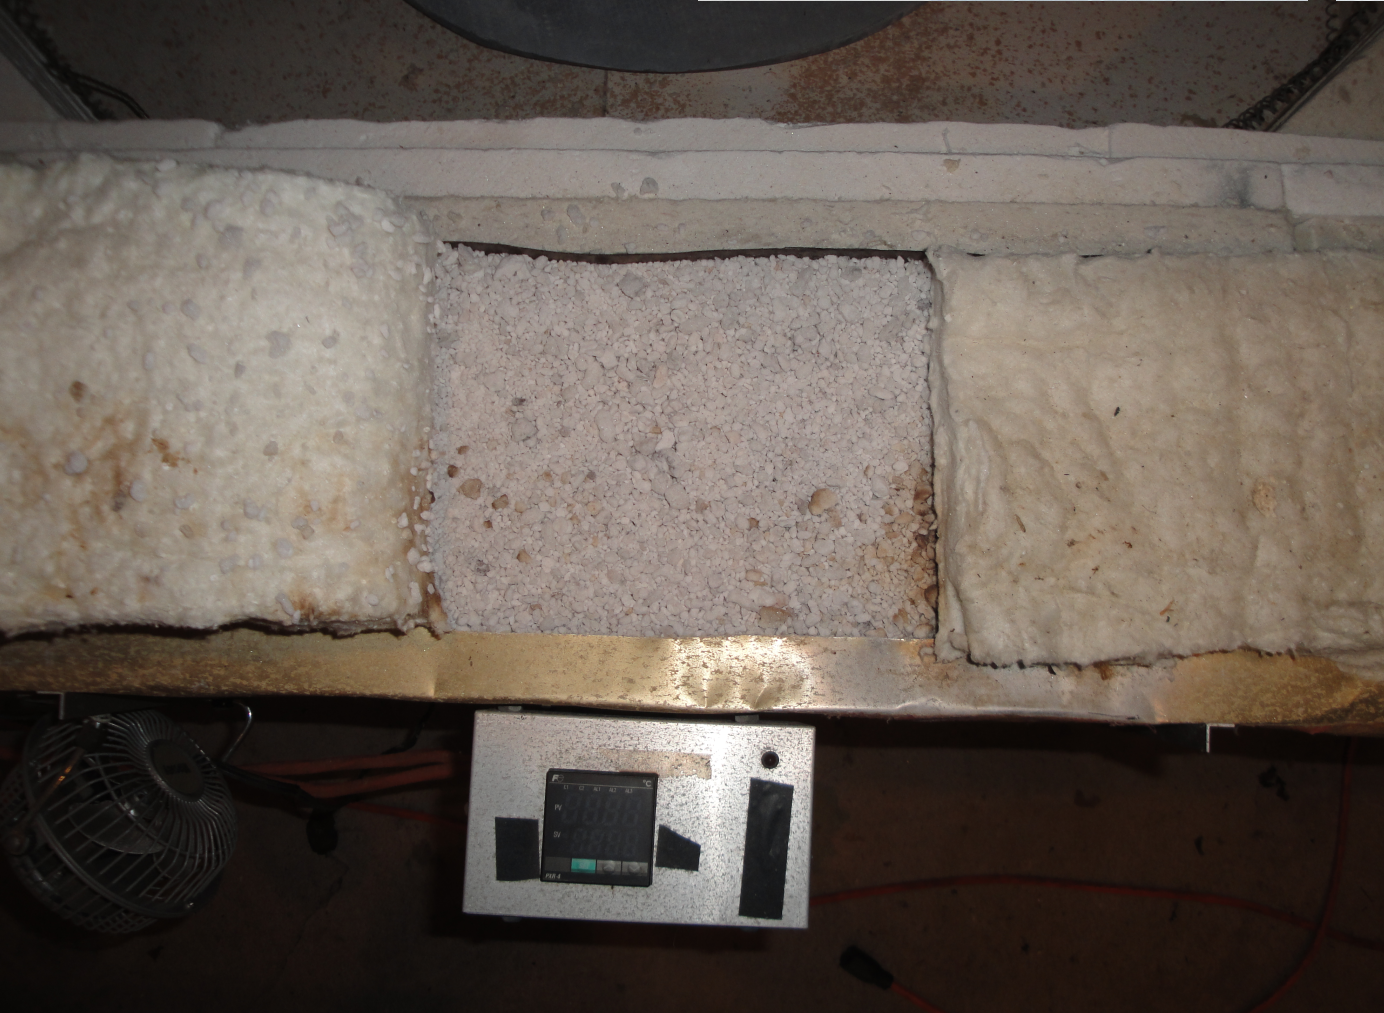
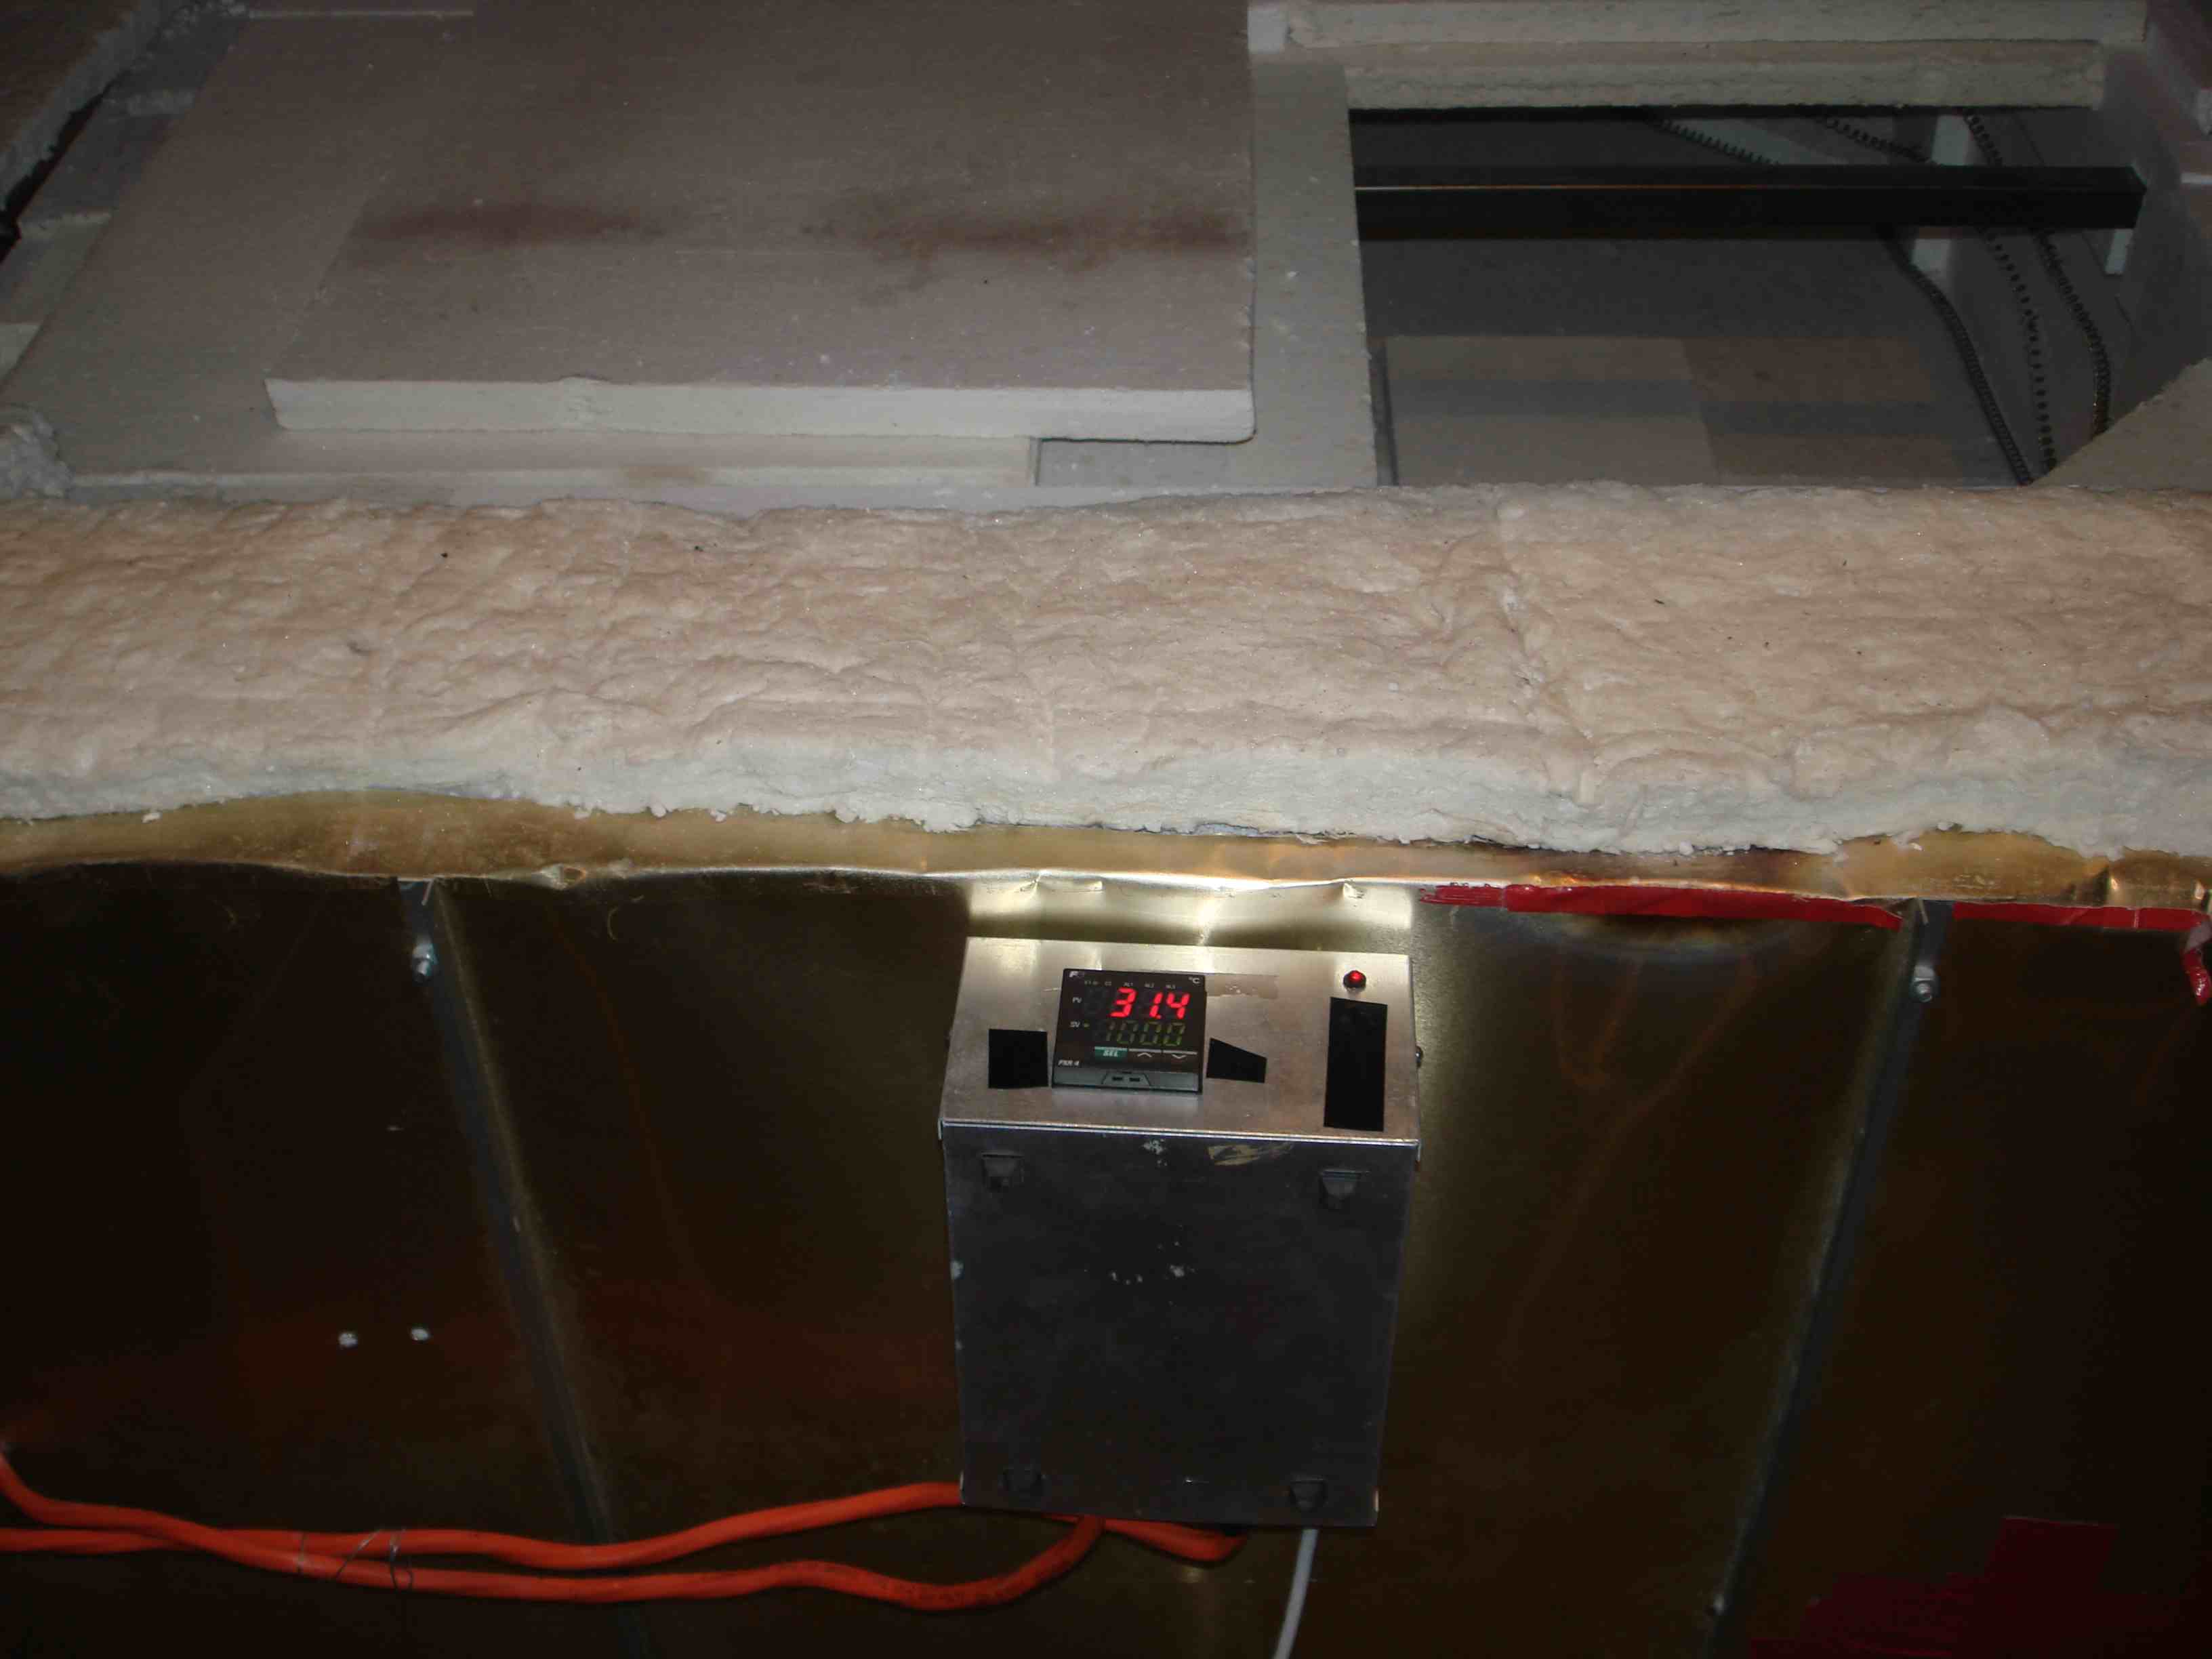
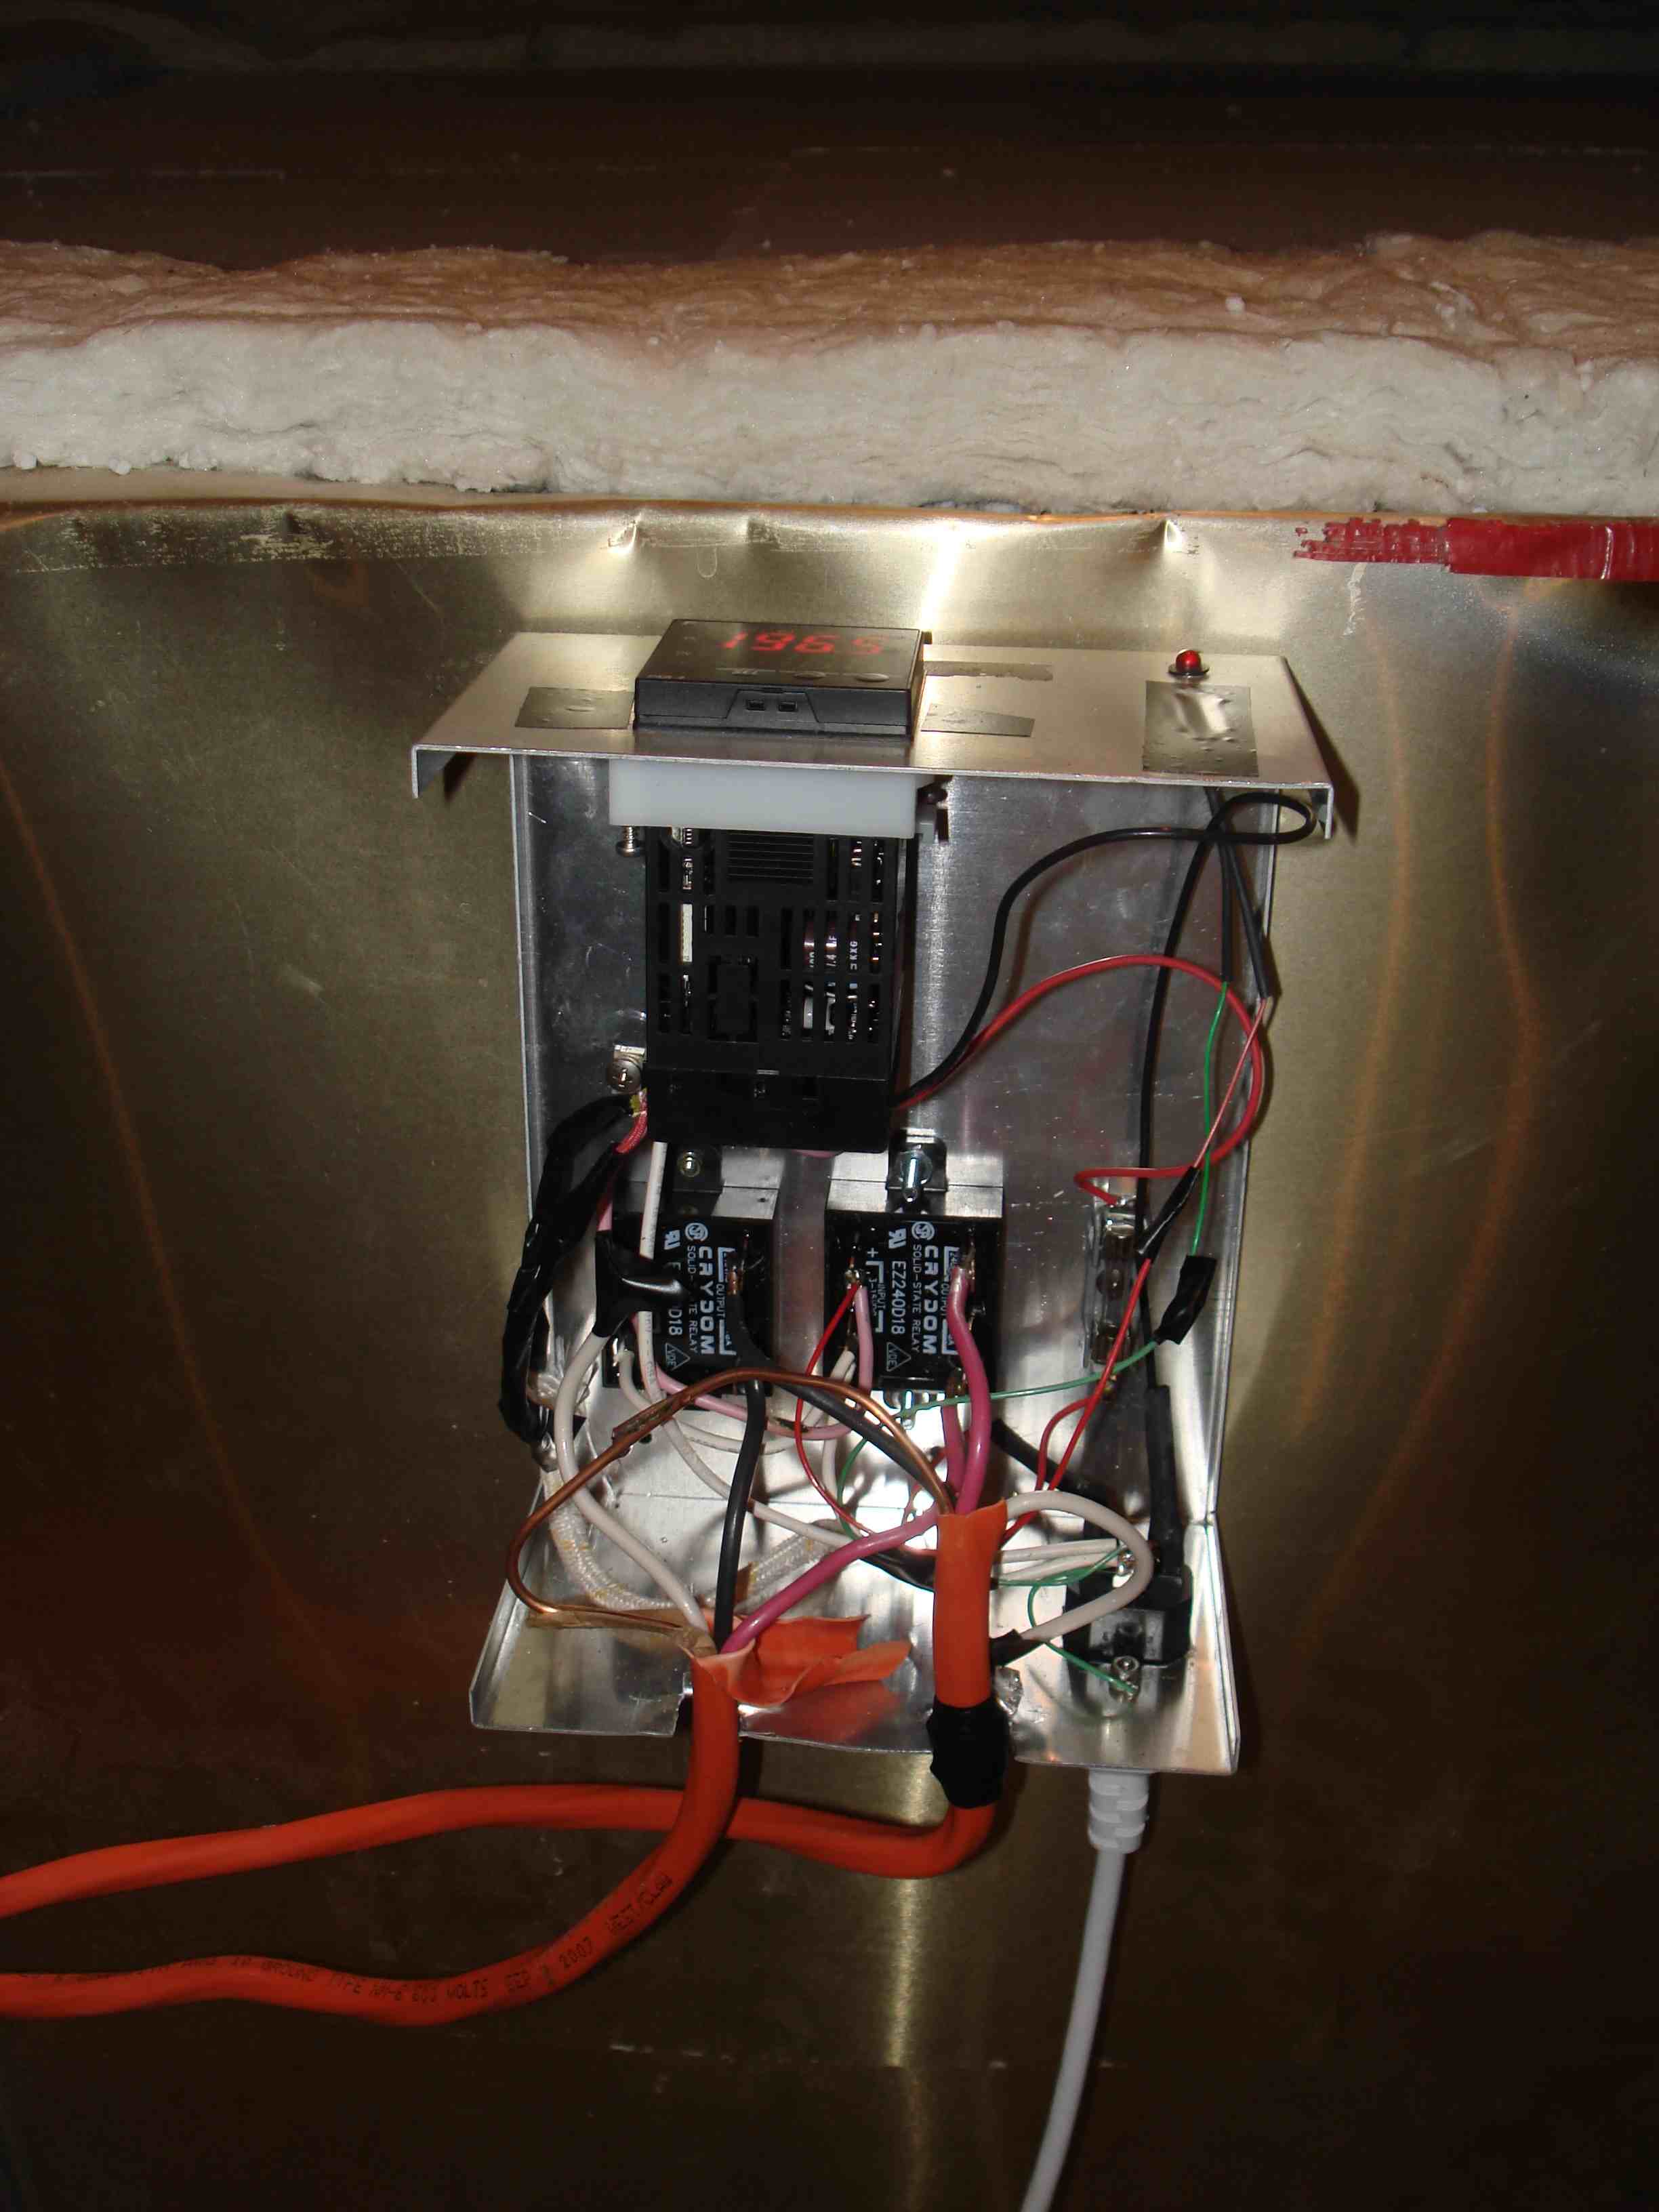
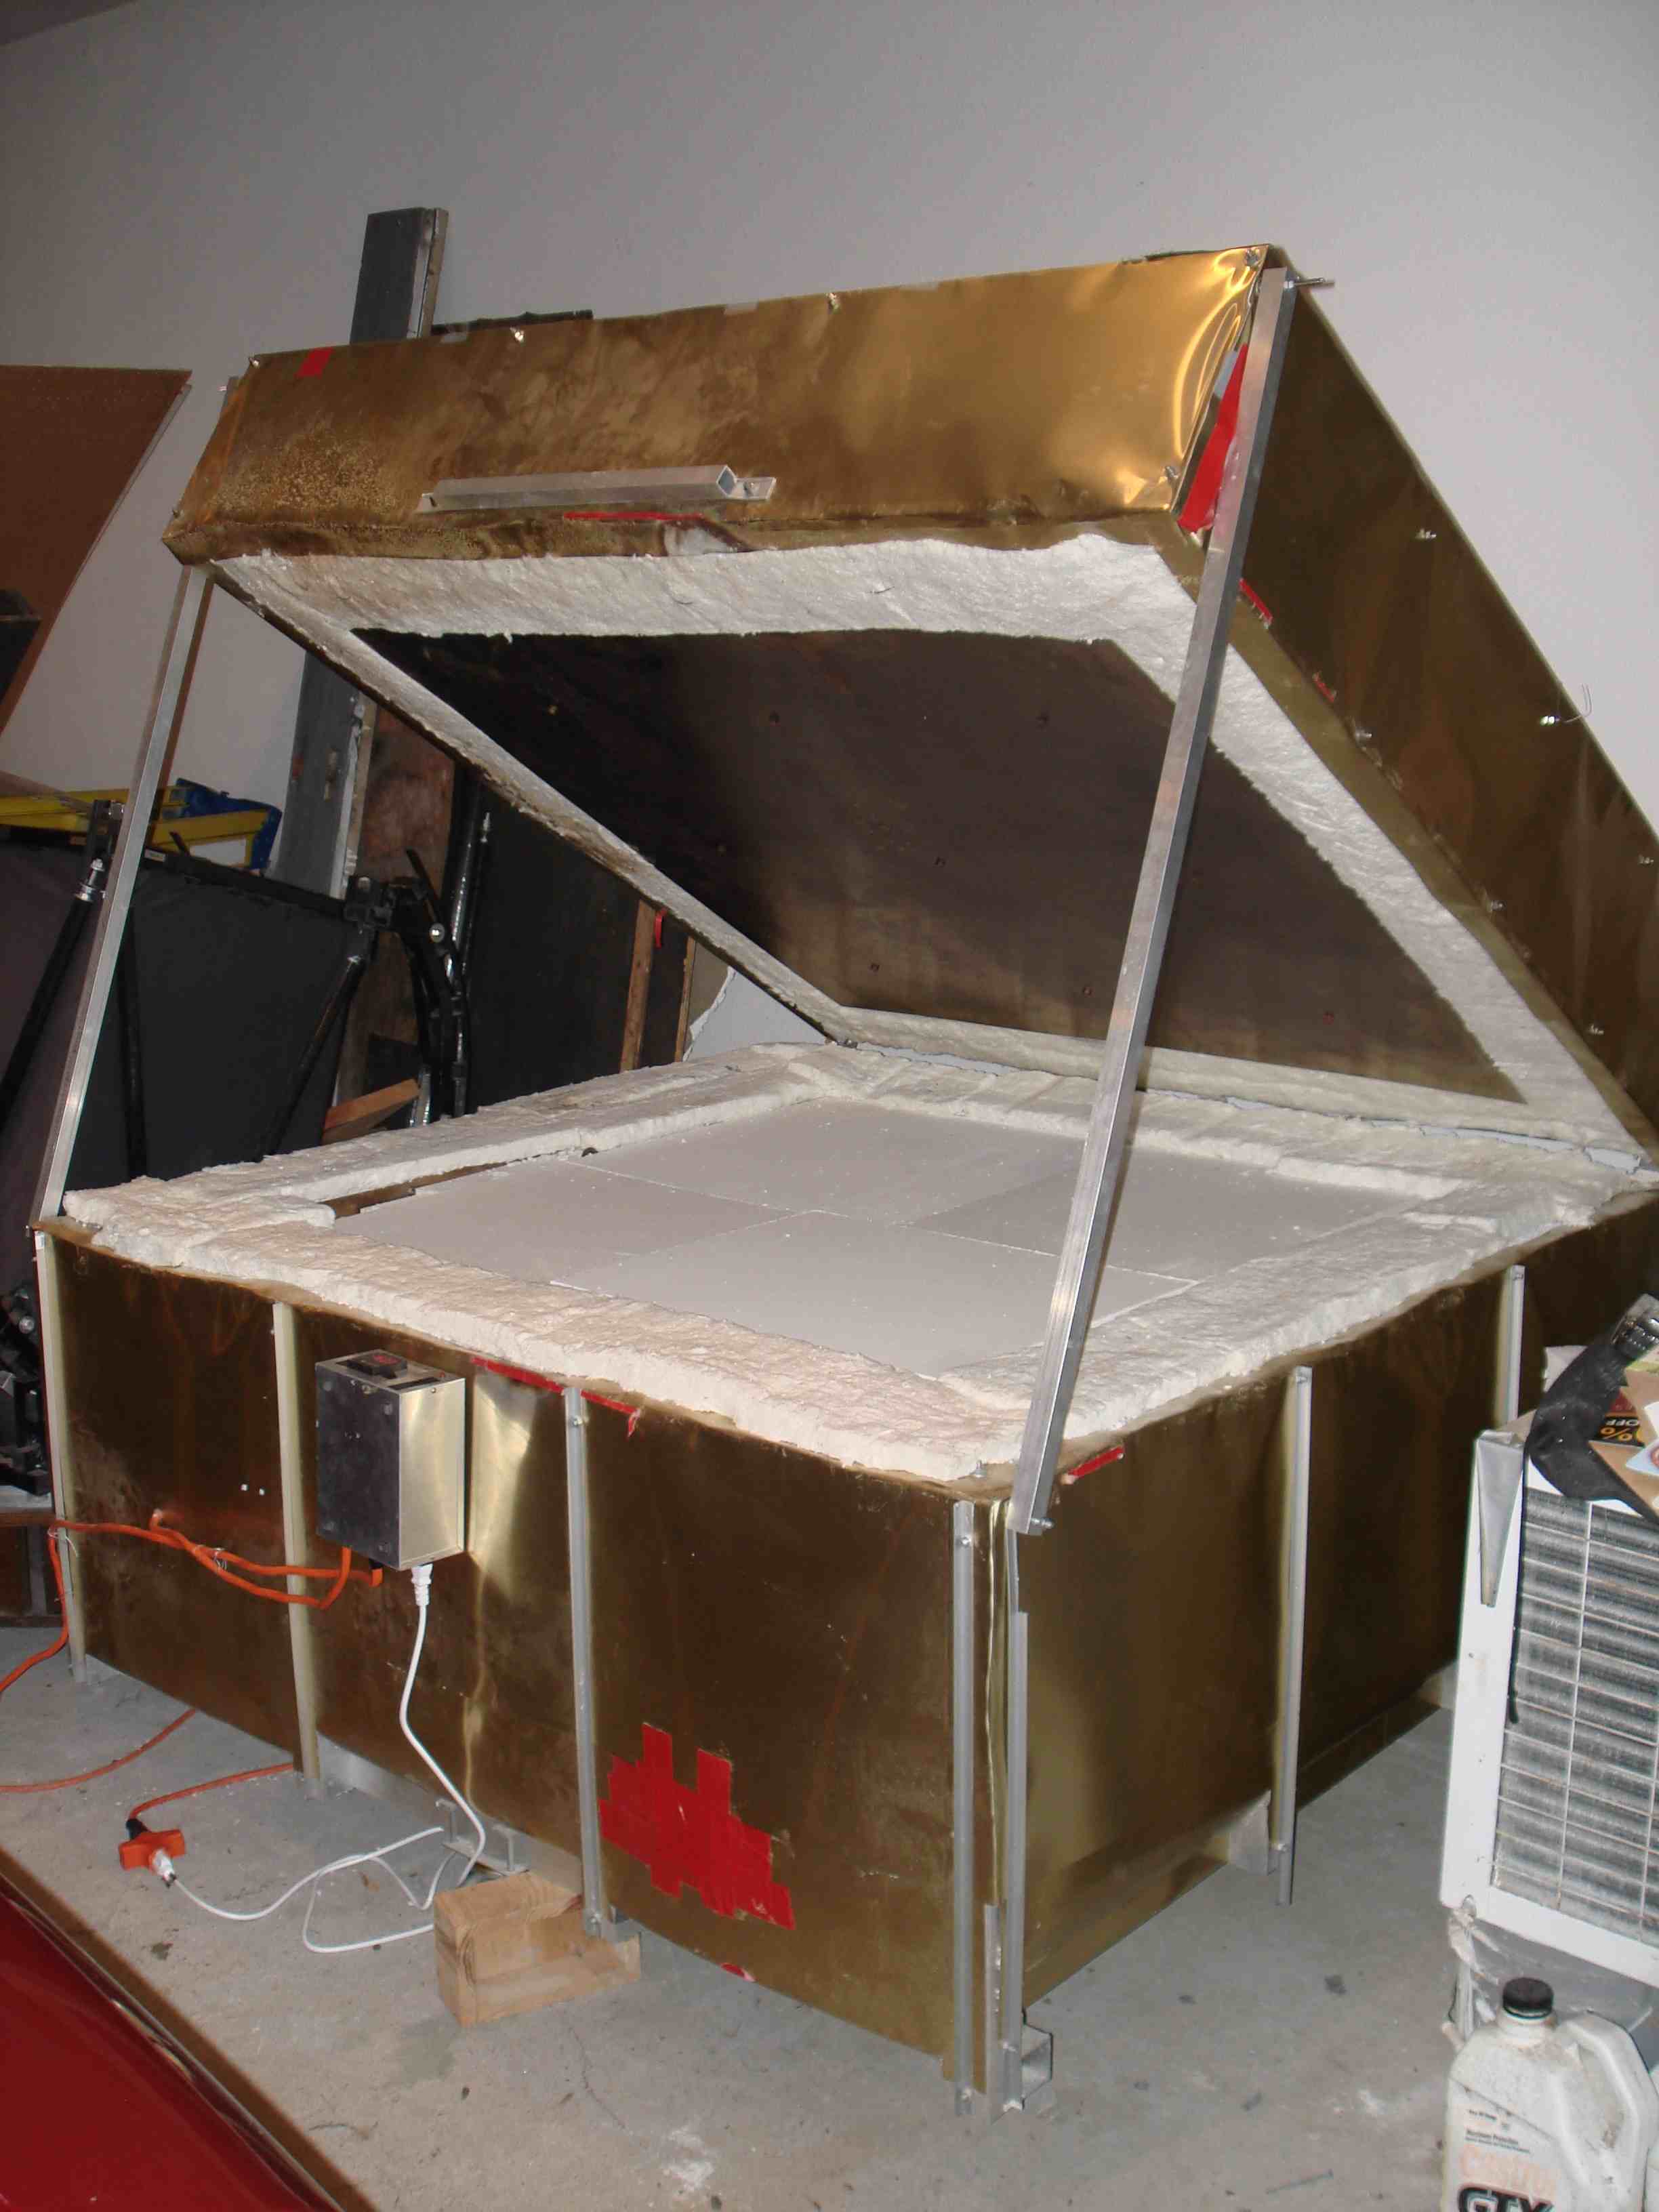
The picture on the left shows the oven with its lid open. The inner chamber is lined with high temperature insulation boards (white). In this picture, some of them are removed for partial access to the inside of the oven. In the picture below, the inner chamber is closed but the lid is still open.
Oven (lid open)

Insulation

Most of the insulation is done with Perlite. Perlite is a great material to build a high temperature oven: it's inexpensive, readily available (used for gardening), pourable (it comes in grains, each a few mm wide), withstands high temperature (up to 1000 C), is lightweigth and is a very good thermal insulator. The perlite is poured in the ~15cm wide gap between the oven outer shell (an aluminum frame with thin aluminum sheets over it) and the inner shell (stainless steel). The inner side of the inner shell is lined with at least 2" of high temperature insulation boards, to improve thermal insulation and avoid getting the stainless steel too hot (I found out the hard way that hot stainless steel is not "stainless" anymore and corrodes rapidly).
The interface between the lower part of the oven and the lid is lined with refractory blanket so that the oven is well sealed when closed.
Perlite insulation layer, sandwitched between the outer aluminum layer, and the inner stainless steel + refractory ceramic boards.

Heating

After playing a bit with gas heating (Propane and then MAPP gas) I decided to go electric - although it is more expensive (high electricity bills), it is a lot safer (I did make a lot of CO by having too little oxygen in the burner at some point !), cleaner, and more convenient for fine temperature control.
The first electric version of the oven was using a Nichrome wire scrapped from an old electric dryier a friend of mine was throwing away. Although it worked fine for a while, Nichrome doesn't last very long at ~800 C, and the wire was quite thin and too short, which required a wire temperature significantly above the oven temperature, and therefore dangerously close to Nichrome melting point (at 1400 C).
I then changed the heating element to a long Kanthal wire coil. The coil is long enough to go 3 times all around the oven, so heat is well distributed in the oven and the coil temperature is not too high. The coil is attached to the oven by hooks I made also from Kanthal. The Kanthal wire works great, and shows no sign of corrosion.
Heating coil, before it is stretched out.
Temperature sensor and heating element inside the oven.

Temperature control

The temperature controller (metal box in picture on the left) is mounted on the outside of the oven. The two orange electric cables are the 240V AC input and output (to heating element). The white cable is 120V AC power which is turned into 24V DC to power the controller. The heating element is visible in the upper right corner of the picture.

The picture on the right shows the wiring inside the metal casing, with two SSRs (black) used to turn the heating elements on and off. A red LED turns on when power is applied to the heating element. Temperature is measured by a K thermocouple inside the oven.

Last modified: Thu Mar 27 21:55:29 HST 2008